
You are just getting started with app hosting on Heroku Node.js, and you need a straightforward tutorial to guide you from scratch. Or you have a challenge configuring environment variables. Either way, worry no more.
This tutorial walks you from creating a Heroku account to Heroku Node.js app hosting. We start by building a simple user login app locally. The application collects user details through a form, registers, and logs them in a dashboard.
It would help to know Node.js, Express, User Authentication, and EJS templating language. However, failure to understand the above technologies should not stop you from following this tutorial because I will briefly explain them.
Let's get started.
What is Heroku Node.js?
It would be best to understand the roots of Heroku Node.js before applying it. Heroku is a polyglot SAAS platform. Software as a service (SAAS) platform is a cloud-hosting service, allowing its customers to build, run, and scale applications. Polyglot means you can manage a chunk of applications similarly using different programming languages.
Currently, you can host Node.js, PHP, Python, Clojure, Java, Scala, Ruby, and Go on Heroku. A combination of Heroku and JavaScript's runtime (Node.js) results in Heroku Node.js. Let's start by building a Node.js project to host on Heroku.
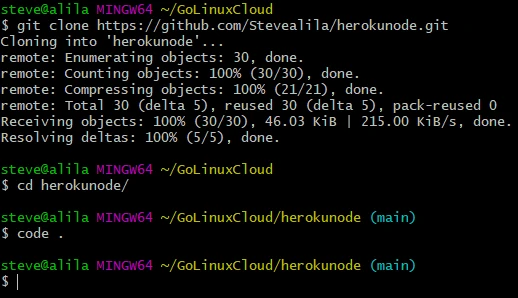
Get the project files
Clone the project files from GitHub, cd into it and open it with your
preferred code editor. I am using Visual Studio Code.
The project is grouped into models, views, and controllers.
Models
Models contain the blueprint of user data we are storing.
import mongoose from 'mongoose'

const userSchema = mongoose.Schema({
    username: { type: String, required: true },
    email: { type: String, required: true },
    password: { type: String, required: true }
})

export default mongoose.model('User', userSchema)
Views
Views present the application frontend. We have built it using
ejs.index.ejs is the landing page. We register and log in users
using register.ejs and login.ejs respectively. A logged-in user
accesses a dashboard. Else they cannot view it due to auth middleware
in the middleware folder.
The controllers folder contains the application's routes. index.js
control interaction with the landing page and the dashboard. We register
the users and log them through the users.js folder. The public folder
contains static files like CSS.
Setting up environment variables and the database
.env.example guides you on how to write your .env file.
PORT = 3000
SECRET = "<ENTER YOUR SESSION SECRET>"
MONGO_URI = "<ENTER DB URL>"
The .env file stores our environment files. Although Heroku sets most of the environment variables, we need the files to run the
application locally.
You can set the MONGO_URI to Atlas' that we will configure when deploying the application to Heroku. To do that, head over to the MongoDB atlas website and get the connection string. You can create a free cluster if you lack an account before getting the connection string.
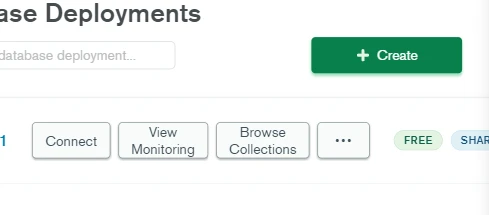
Say you have signed in to your MongoDB atlas account. Click on connect
Choose option 2: Connect your application
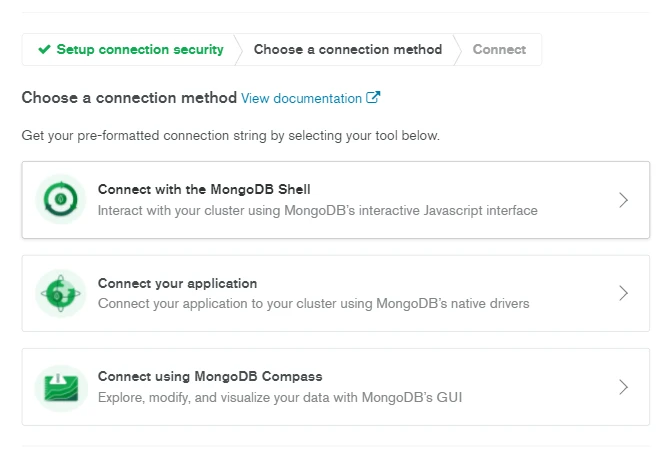
Copy the connection string and paste it into the .env file locally.
You can rename the .env.example file as .env or delete it.
PORT = 3000
SECRET = <SESSION SECRET>
MONGO_URI = mongodb+srv://<ATLAS USERNAME>:<PASSWORD>@<ATLAS USERNAME>.rgo2s.mongodb.net/<DATABASE NAME>?retryWrites=true&w=majority
You can test the PORT and database connection locally by logging the
messages at the db.js and app.js, respectively.
import mongoose from 'mongoose'

export const dbConnection = async () => {
    try {
        const conn = await mongoose.connect(process.env.MONGO_URI)
        console.log(`db runs in ${conn.connection.host}`)
    } catch {
        process.exit(1)
    }
}
The application will notify us whether the database runs locally or remotely on Atlas.
The entry file
import express from 'express'
import dotenv from 'dotenv'
import expressLayouts from 'express-ejs-layouts'
import passport from 'passport'
import session from 'express-session'
import MongoStore from 'connect-mongo'
import methodOverride from 'method-override'

import { dbConnection } from './db.js'
import { authenticateUser } from './passport.js'
import indexRoute from './controllers/index.js'
import userRoutes from './controllers/users.js'

const app = express()

if(process.env.NODE_ENV != 'production') dotenv.config()
dbConnection()
authenticateUser(passport)

// set up views
app.set('view engine', 'ejs')
app.use(expressLayouts)
app.use(express.static('public'))

// accept form data
app.use(express.urlencoded({ extended: false, limit: '3mb' }))
app.use(express.json({ extended: false, limit: '3mb' }))

// sessions and passport
app.use(session({
    secret: process.env.SECRET,
    resave: false,
    saveUninitialized: false,
    store: MongoStore.create({ mongoUrl: process.env.MONGO_URI })
}))

app.use(passport.initialize())
app.use(passport.session())
app.use(methodOverride('_method'))

// routes
app.use('/', indexRoute)
app.use('/users', userRoutes)

const PORT = process.env.PORT || 5000
app.listen(PORT, console.log(`listening on port ${PORT}`))
app.js is the entry point to the application.
If the application locally listens on port 3000 instead of 5000,
const PORT = process.env.PORT || 5000we will be sure the application reads the environment variables.
Finally, the passport.js file authenticates the user during login.
Test the application locally
Let's install the packages and test everything locally before deploying the application.
npm i

npm run dev
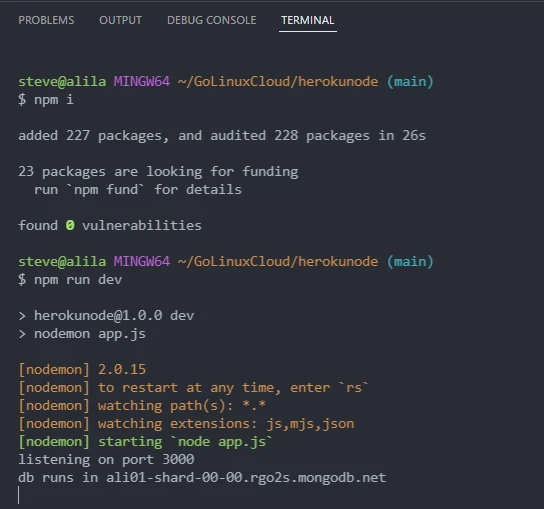
So far, so good. Everything works as expected. Finally, let's inspect
the contents of the package.json file before deploying the
application.
{
  "name": "herokunode",
  "version": "1.0.0",
  "description": "",
  "main": "app.js",
  "type": "module",
  "scripts": {
    "start": "node app.js",
    "dev": "nodemon app.js"
  },
  "author": "",
  "license": "MIT",
  "dependencies": {
    "bcryptjs": "^2.4.3",
    "connect-mongo": "^4.6.0",
    "dotenv": "^16.0.0",
    "ejs": "^3.1.6",
    "express": "^4.17.3",
    "express-ejs-layouts": "^2.5.1",
    "express-session": "^1.17.2",
    "method-override": "^3.0.0",
    "mongoose": "^6.2.8",
    "nodemon": "^2.0.15",
    "passport": "^0.5.2",
    "passport-local": "^1.0.0"
  }
}
We are running the application locally using nodemon but preparing to
start it with node when deployed on Heroku.
"scripts": {
    "start": "node app.js",
    "dev": "nodemon app.js"
  },
The start script does the same thing that
Heroku Procfile
web: npm startused to do before Dec 2013. It tells Heroku Node.js how to run the application.
Deploy Heroku Node.js app from scratch
Sign up on Heroku
Navigate to Heroku signup page, fill in your details.
You get an email with links to proceed with registration. Click on it. Set a password, and accept next prompts till you are at the welcome page.
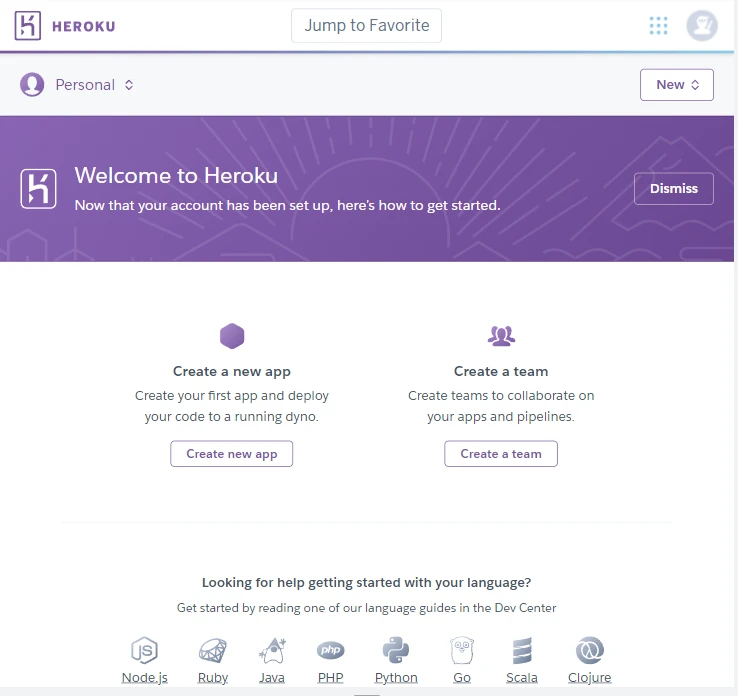
Create a new application
Click on <New> or <create new app>.
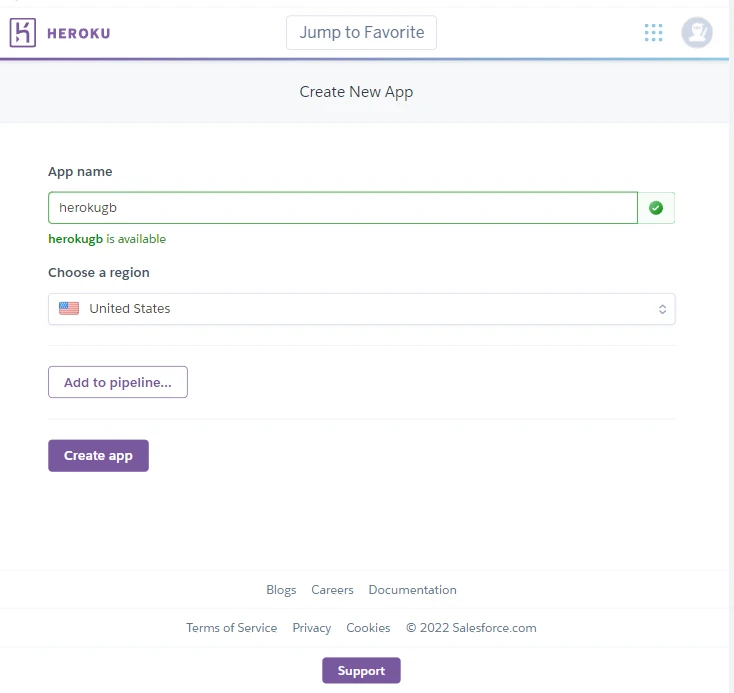
Register a Heroku Node.js application. I am creating one called
herokugb.
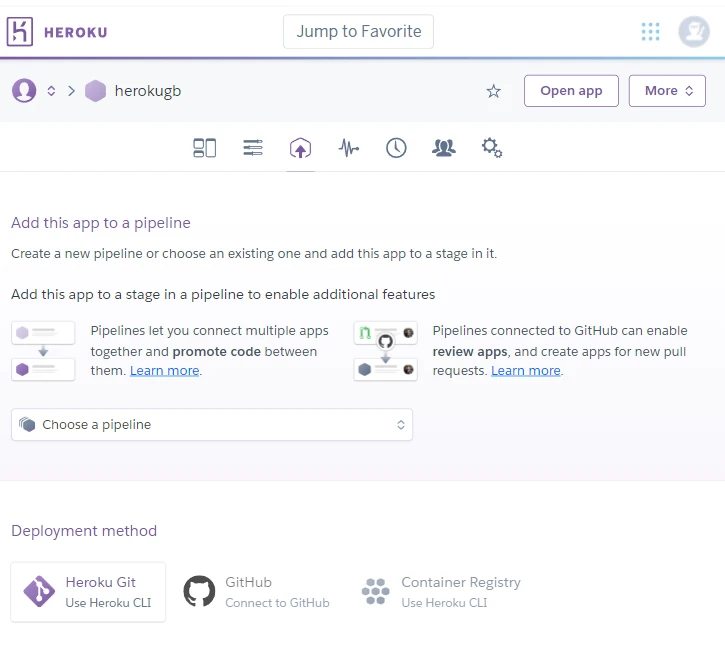
Configure Heroku CLI
Heroku sends you to the deployment page, where you can use Heroku CLI, GitHub or Register a Container with the CLI. Let's go with the first option: Heroku CLI.
Install Git because Heroku will deploy tracked Node.js application files. You can then proceed with the Heroku CLI installation. Choose your operating system's installer.
Windows
Ubuntu
sudo snap install --classic heroku**Arch Linux**
yay -S heroku-cli**Mac**
brew tap heroku/brew && brew install herokuCheck your installation.
heroku --versionLet's now log in to Heroku CLI and deploy our application.
heroku login -i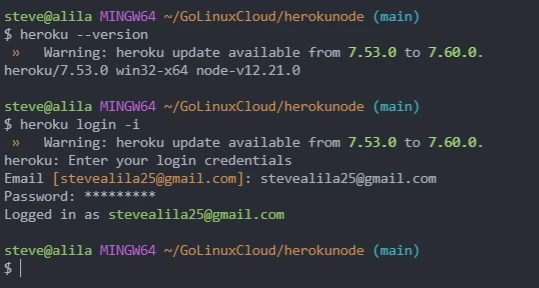
Your working directory should be the one you are about to push to Heroku. Always ensure the checked-out branch is called master.
Push the local files to Heroku
Since we clone the repository with the main branch, let's discard the old repository and reinitialize it with the master branch. We can then add the Heroku upstream.
git init
heroku git:remote -a herokugb
Now we can stage, commit and push the changes to Heroku Node.js.
git add .
git commit -m "Push to Heroku"
git push heroku master
Heroku builds and compresses the files before deploying them to the platform.
Configure environment variables
Let's return to the Heroku dashboard, click on the deployed application and configure its environment variables.
Click on Settings and scroll down to Reveal Config Vars. Add environment variables as key-value pairs without quotation marks.
Start the Heroku Node.js application
Scroll upwards to the navigation menu and click Open app.

Heroku should redirect you to a page like mine if all goes well.
Conclusion
Applying Heroku Node.js entails having a git project and Heroku account. You can then deploy your application, as explained in this tutorial.
