
Overview on Azure Web App
Azure Offers Platform as a Service (PaaS) calls Azure App Service which helps end customers to host their application on Azure without provisioning of VM or any other infrastructure resources. You just deploy a Web App, and it runs and keeps running.
You can follow the below article for a better understanding of how Azure App Service works.
This article will show you how you can use the Azure WebApp CI/CD deployment feature with help of Azure Repos and Azure DevOps Services.
Prerequisite
- Azure Subscription
- Azure DevOps Organization account
- Sample Web Code for testing
Step 01: - Deploy Azure WebApp for CI/CD Pipeline
In this, we will deploy one web app for our article. you can follow the above article for a deep understanding of Azure App Service.
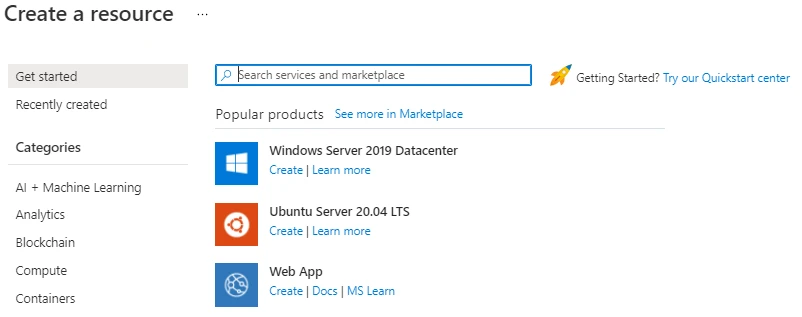
First, search for Web App in Portal and click on create. It will open a wizard to fill.
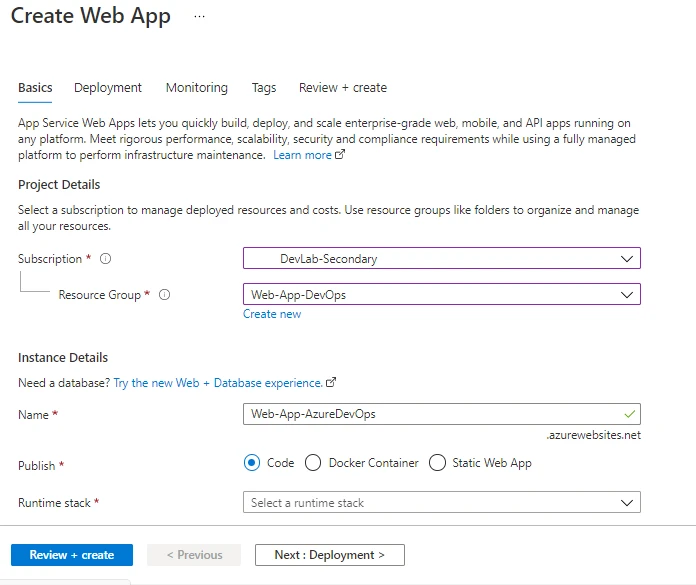
You must fill all the prerequisite details as per the below image.
- Name for WebApp
- Publish type Code/Container/Static
- Runtime Stack which is most important depends upon your code
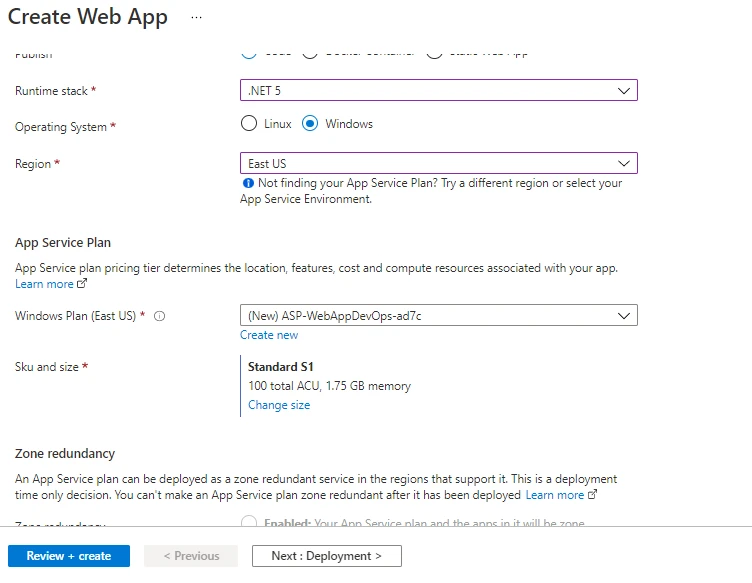
We are using.NET5 for this but you can choose PHP/NODE/PYTHON etc. you want.
Operating System and Region. For App Service Plan and SKU/Size, you can understand from the above article.
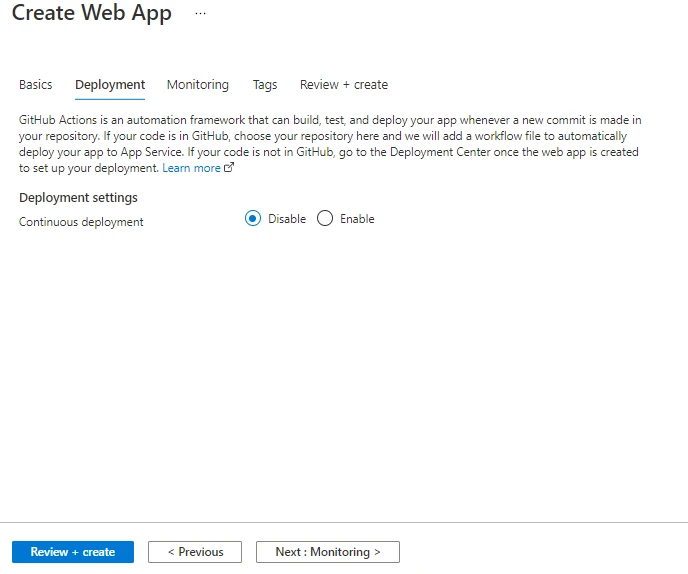
In the Next, Deployment tab we can enable Continuous Deployment. Let it be disabled for time being and I will show you the same from Web App Setting.
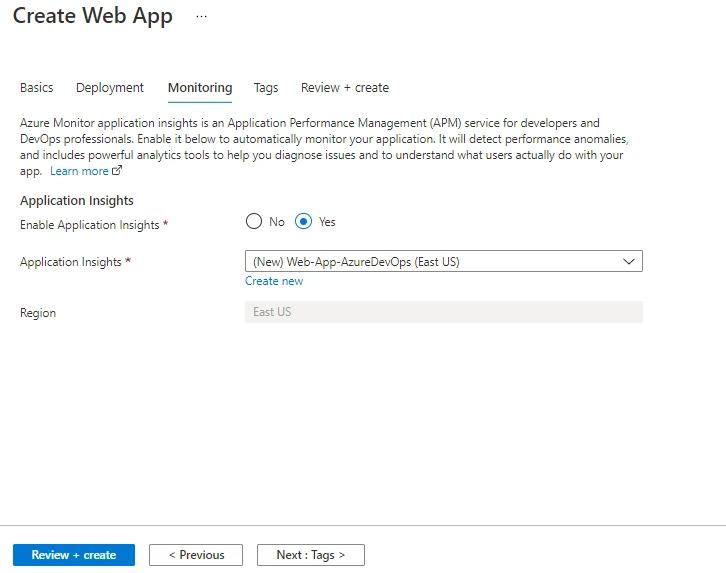
Next under Monitoring TAB, Select Yes for Enable Application Insights.
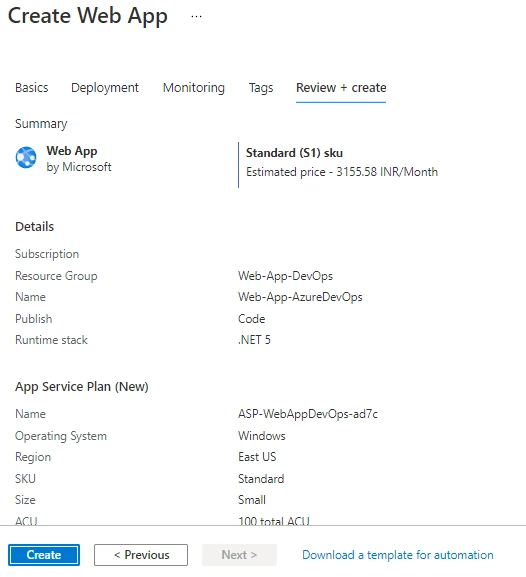
Review + Create is our final step towards deployment. And then you can see the default page.
Step 02: - Enable Continuous Integration from Azure Web App
First, you need to create an Azure DevOps organization and Project. you can follow the below documentation for creating DevOps.
Sign up, sign in, invite teammates - Azure DevOps Services | Microsoft Docs
Once the web app is deployed go to the Deployment Center and click on Continuous Integration and Continuous Deployment.
In Source you can select Azure Repos, but you have multiple options here like Bitbucket, GitHub, etc.
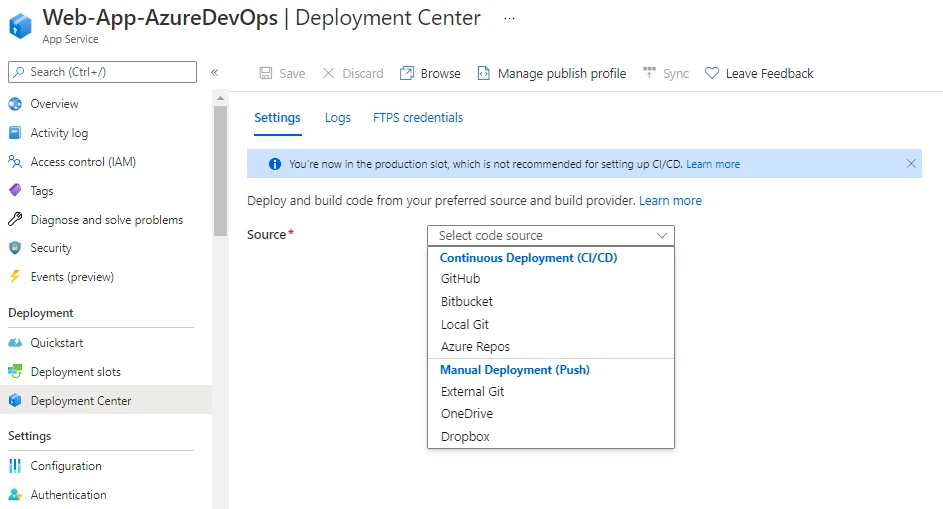
Once you select Azure repos it will populate to show your DevOps organization. Select the Organization, Project, and Repository.

Once everything has been selected click on Save. this will fetch the latest code from your repository and deploy it on Web App.
You can browse the same from the Browse option above.
Step 03: - Continuous Deployment on WebApp using Azure DevOps
First, log in to your DevOps organization using this URL. Azure DevOps
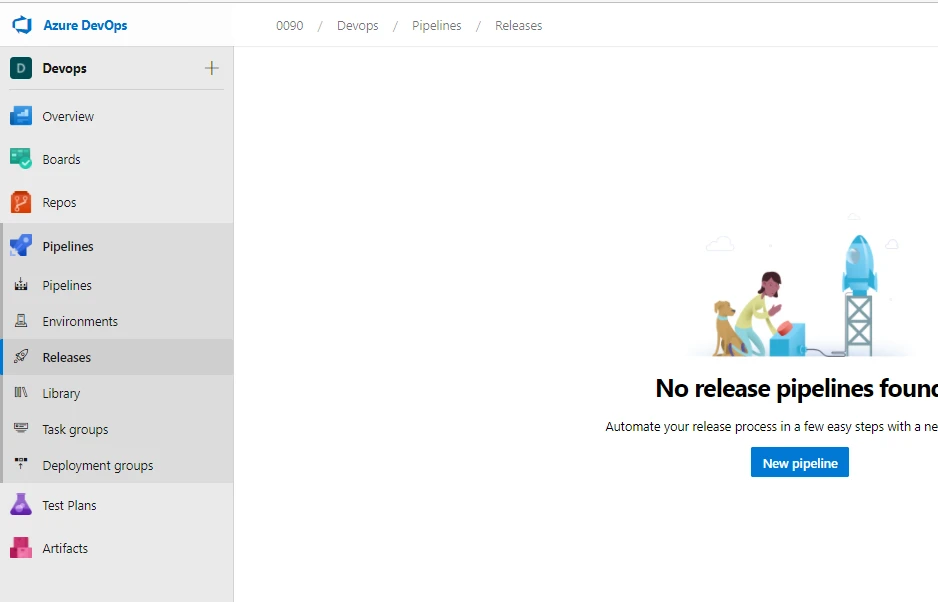
I have already created a DevOps organization and Project for demo purposes. and you can see the same in the below image.

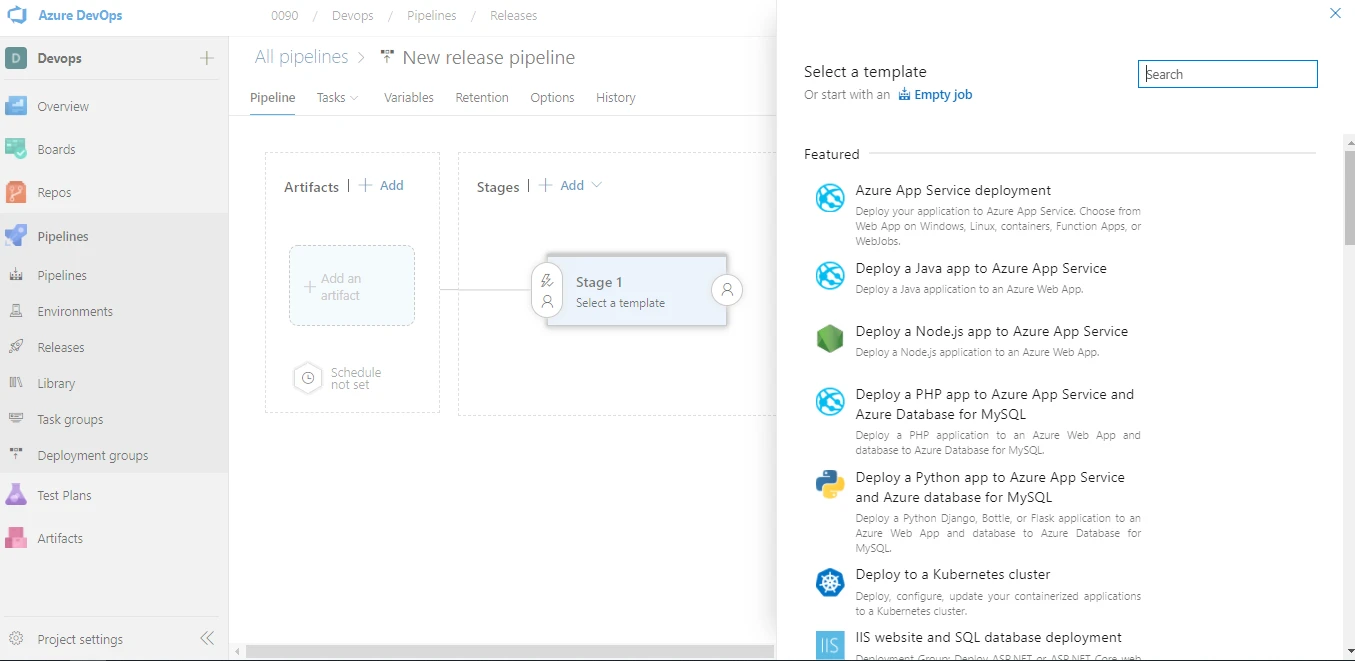
For Continues Deployment we need to first create a release pipeline in Azure DevOps. Go to the Releases option in the pane as per the below image.
Next, click on the New pipeline and it will prompt a new tab as per the next image. You can select Azure App Service Deployment directly as a stage template but to give you a better understanding will add tasks manually.
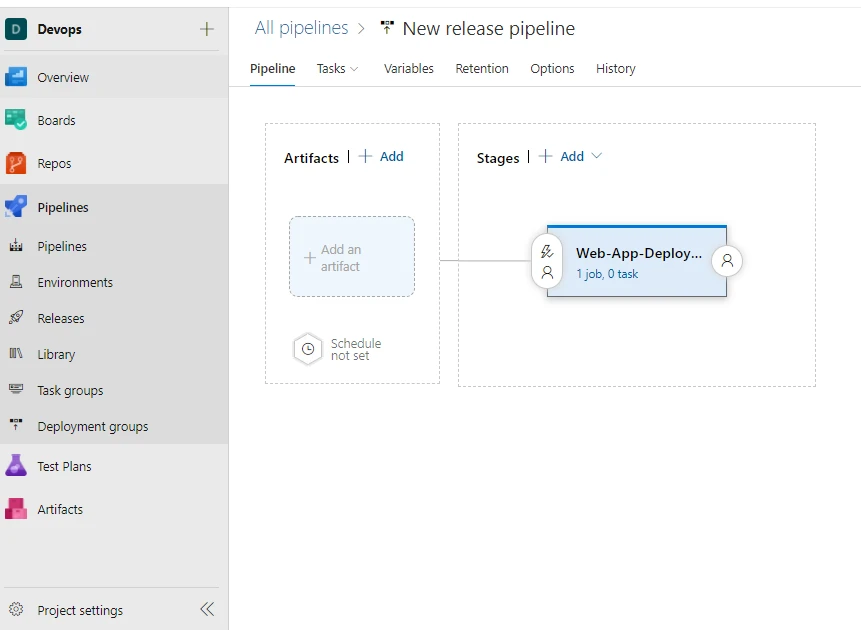
Click on Empty Job and Save.
After saving that it would look like this. Now our next task is to add the Web App Deployment stage and artifacts as our Web Site code repo.
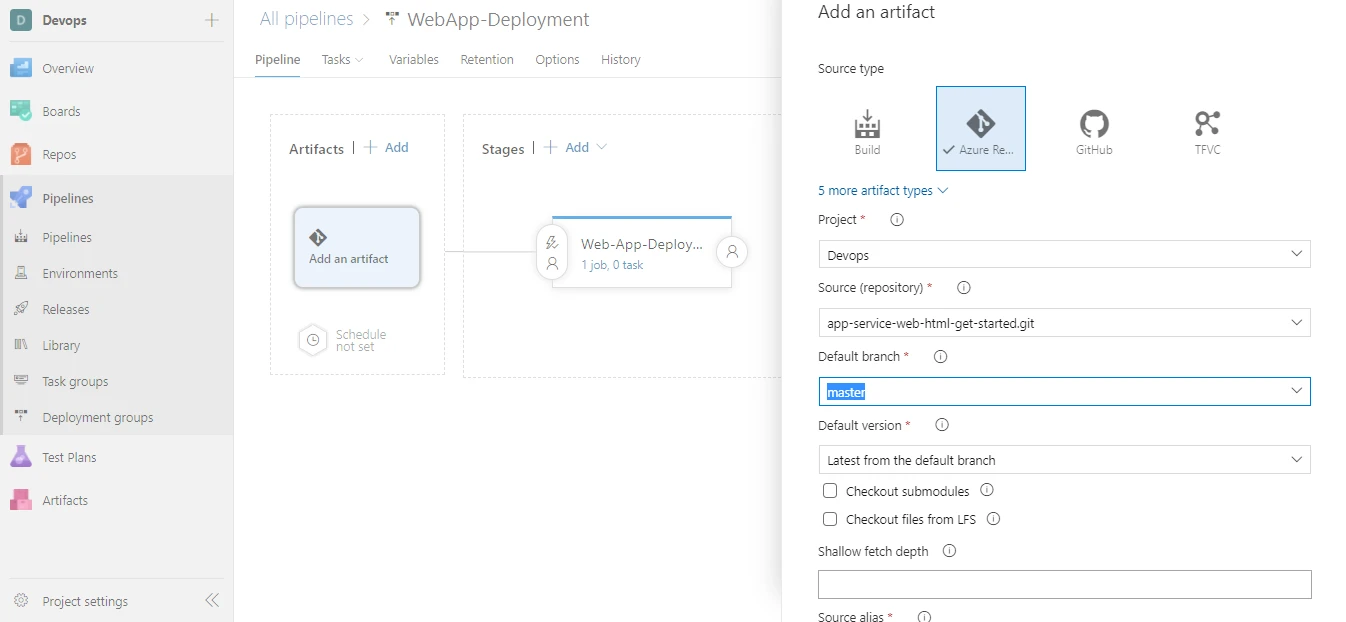
Click Add an artifactand select Azure repos as your source code. Select a respective repository from the drop-down and click on Save.
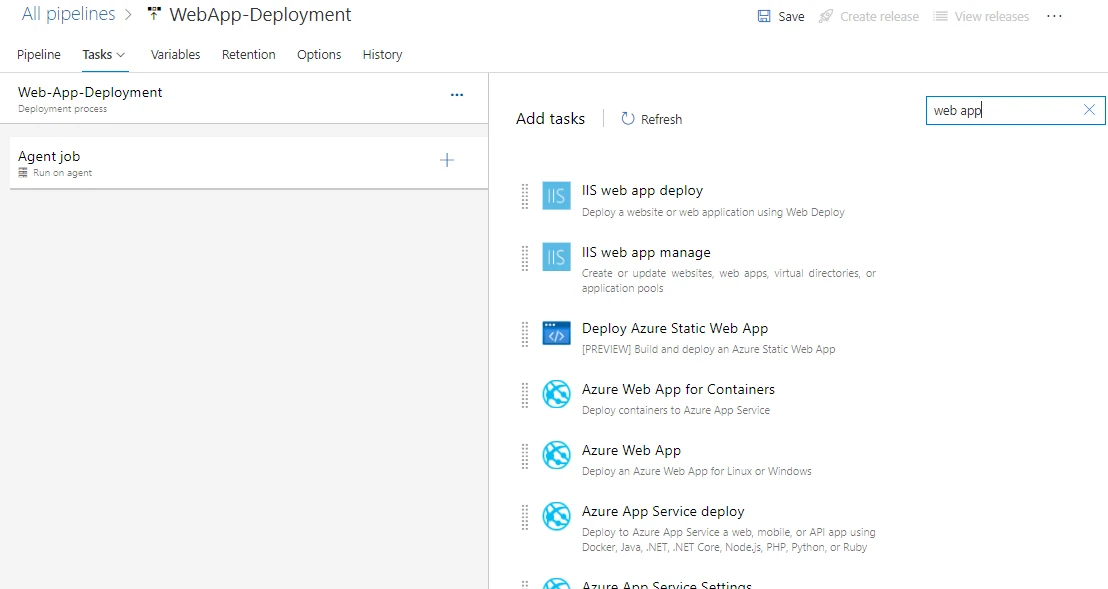
After adding up the artifact select the 0 tasks from the Stage option. It will open below window here you can search with the task name which you require.
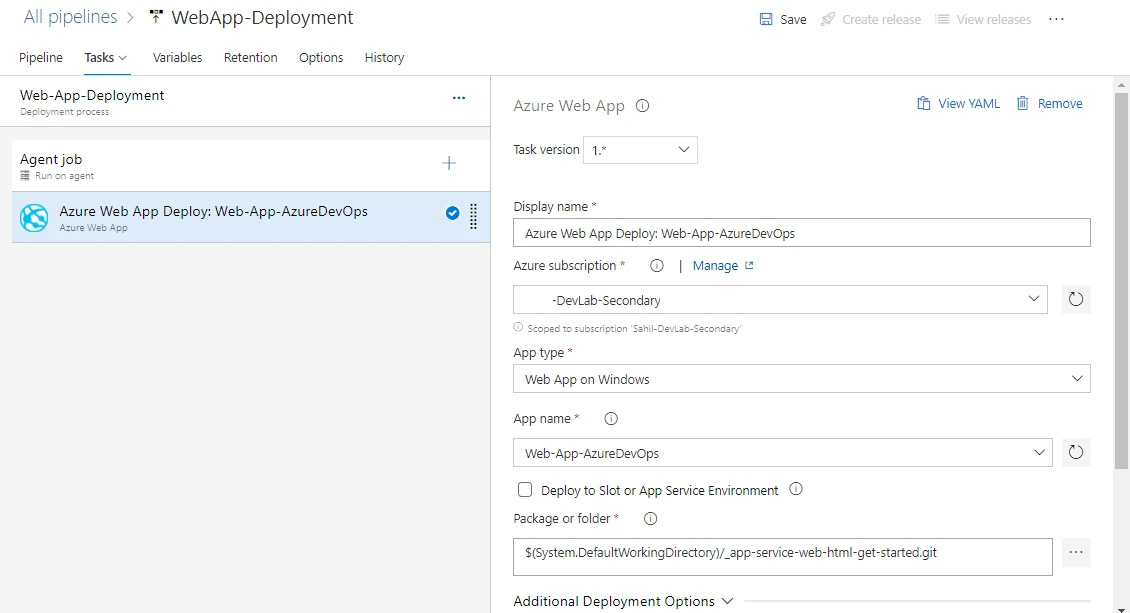
In our case, it is Web App Deployment. And you can see we have multiple options in tasks. select Azure App Service Deploy.
Once you add the task you must create SPN to connect your Azure DevOps with your Azure subscription for the deployment of resources. You can follow the below article for the same.
Next, select all the required options from Drop down menu. and all are self-explanatory to select. Once done click on Save and Create Release.
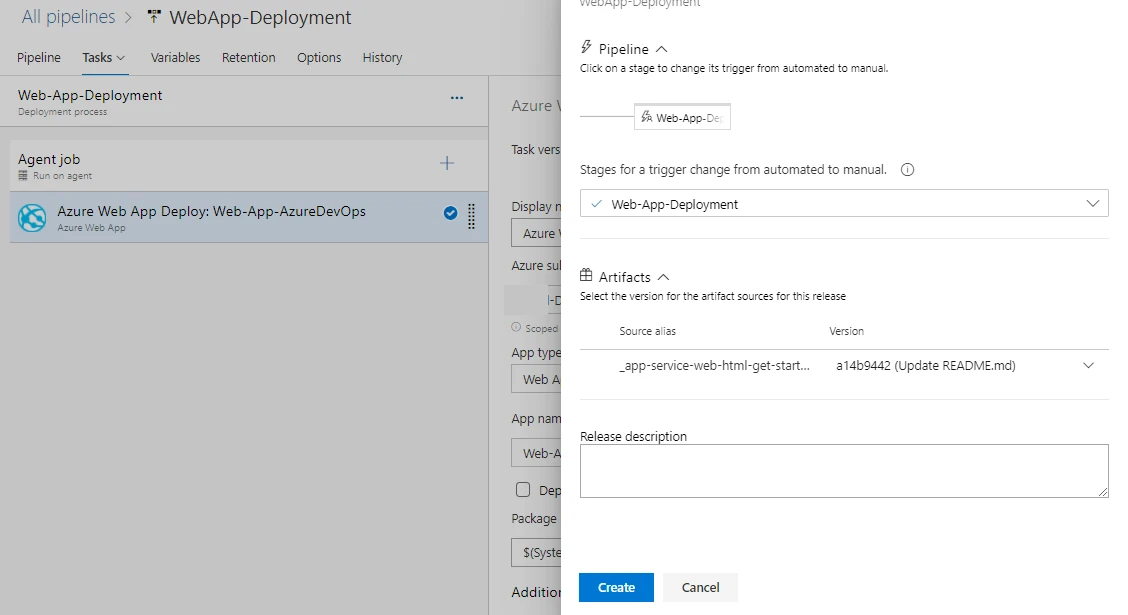
Create Release option will start our Deployment pipeline. As per the below image, you can select Stages, Artifacts (If you have multiple versions of artifacts) and then click on Create.
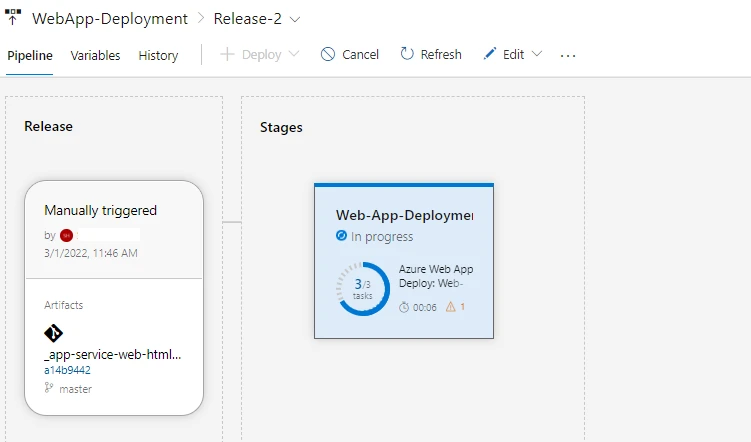
Once you click on create it will start deploying code in the web app you can monitor this from going release deployment.
As per the below image, you can see the status and logs of deployment.
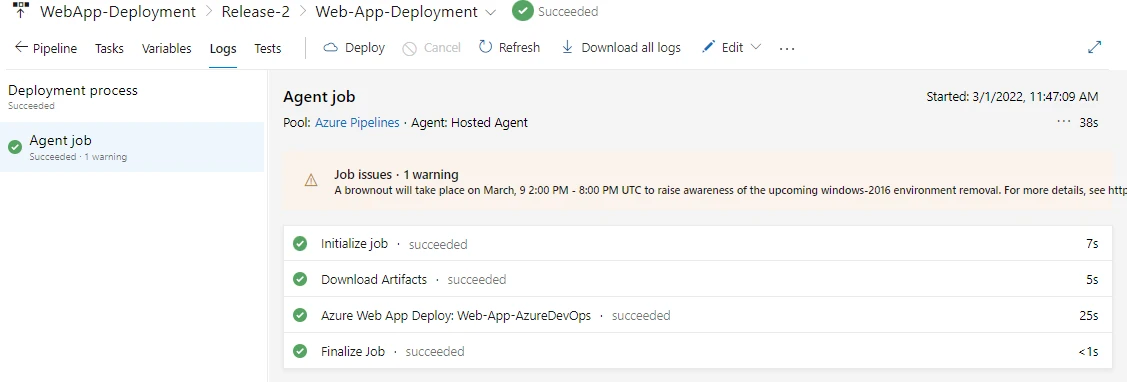
Once the deployment is done you can see all the steps and also you can download the same logs.
In addition to that, you can go to the Azure WebApp and in the deployment center, you can see those logs populated there. it will help to identify the recent deployment version etc.
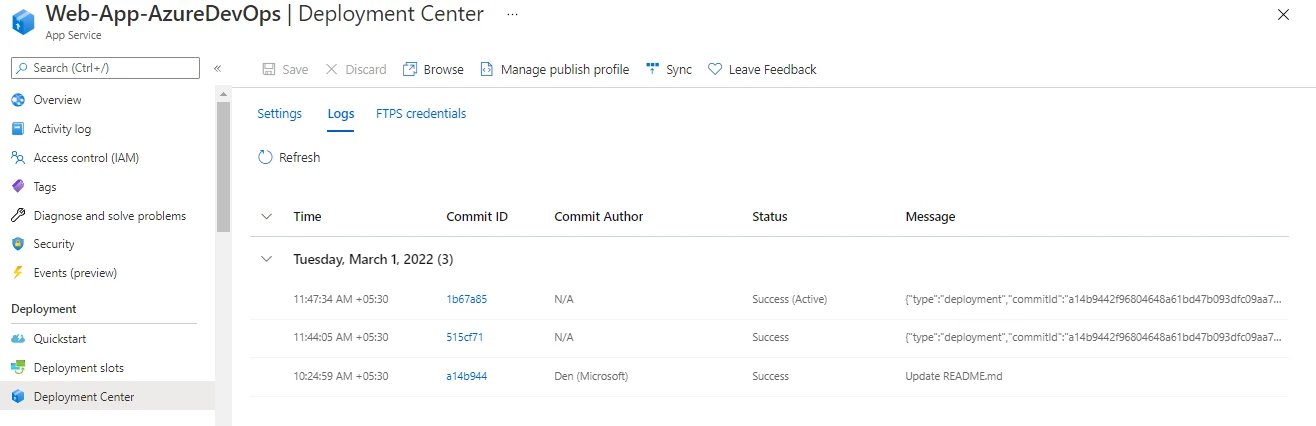
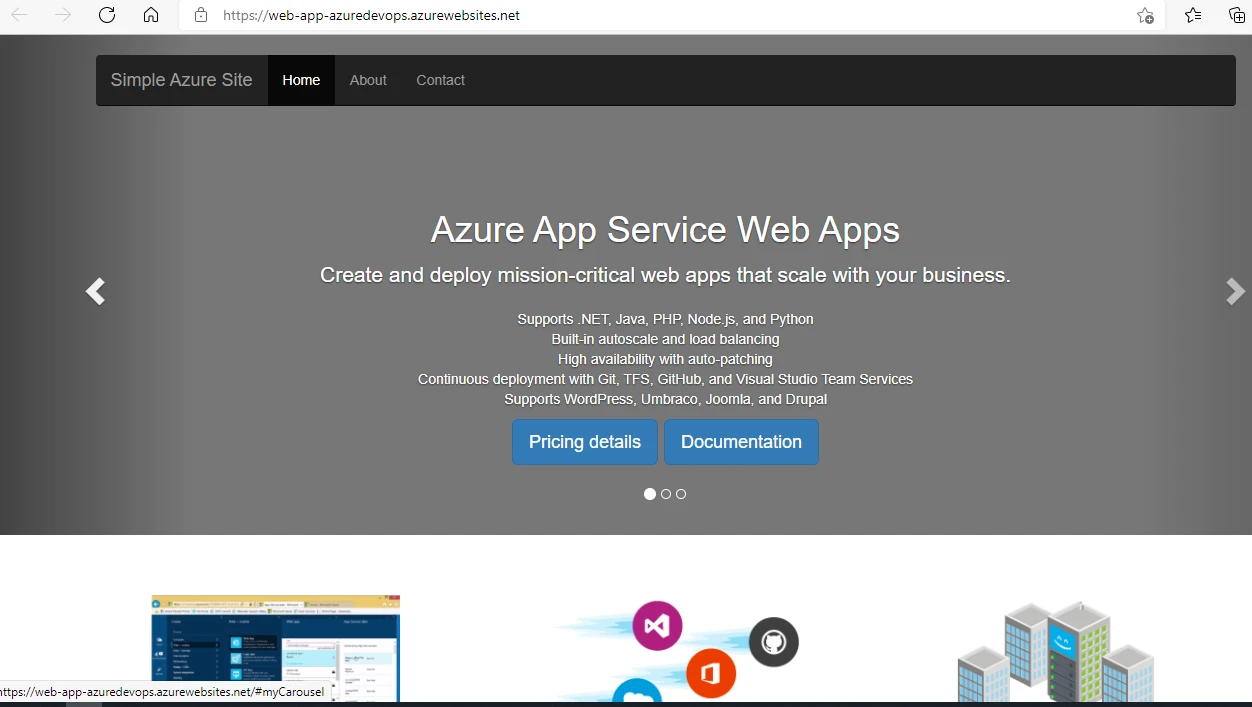
Finally, go to the Overview page and browse the URL. and you would be able to access the latest code deployed by the Azure DevOps Pipelines.
Summary
Azure Apps can be hosted anywhere manually or automatically on Microsoft’s global regions. App Service provides high availability and Resilience in addition to that you can use DevOps best practices you make your software development process agile and use CI/CD for fast Development and Deployment of code.
Managing your repositories, building your code, Deploying that into the test environment all can be taken care by Azure DevOps services.
References
- The Plain and Simple Way to Create SPN and Service Connection for Azure DevOps Pipelines (subhankarsarkar.com)
- Azure DevOps
- Azure App Service Tutorial