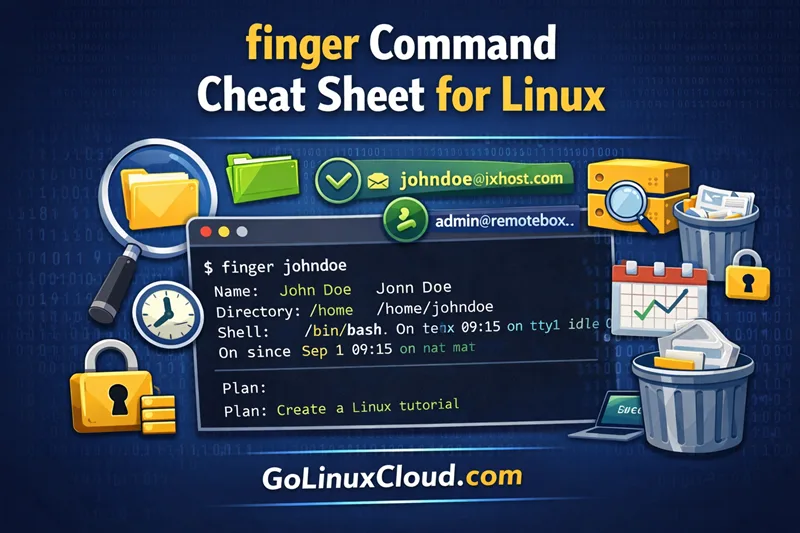
finger — quick reference
Logged-in users
Show who is on the system right now. On headless or idle hosts the output is often No one logged on.
| When to use | Command |
|---|---|
| List all logged-in users (long format) | finger |
| Short column listing of logged-in users | finger -s |
| Long listing for every logged-in user | finger -l |
Specific user lookup
Query one account — home directory, shell, mail status, and optional .plan / .project files.
| When to use | Command |
|---|---|
| Details for one local user | finger username |
Long format for one user (includes .plan, .project, …) |
finger -l username |
| Short format for one user | finger -s username |
| Match login name only — do not search GECOS full names | finger -m username |
Hide .plan and .project contents |
finger -p username |
Remote lookup (often disabled)
Legacy fingerd on remote hosts is rare today; most servers block or omit the service.
| When to use | Command |
|---|---|
| Query a user on a remote finger service | finger user@host |
| List users advertised by a remote finger server | finger @host |
Install on Ubuntu/Debian if missing: sudo apt install finger.
finger — command syntax
Synopsis from finger(1) on Ubuntu 25.04 (finger 0.17):
finger [-lmsp] [user ...] [user@host ...]With no user argument, finger reports logged-in users. With a username, it prints account details from /etc/passwd and optional files in the user's home directory. This build does not support --help or --version — use man finger or dpkg -l finger for package version; the dpkg command explains list filters.
finger — command examples
Essential No logged-in users on a minimal host
On servers with only SSH non-interactive sessions, or when nobody has a TTY open, finger may report an empty session list. That is normal — it is not an error.
Run the command:
fingerSample output on this tested host:
No one logged on.Compare with who or w for the same picture. If you expected active consoles, check who and /var/log/wtmp for historical logins.
Essential Look up a local user account
Pass a username to see home directory, shell, login history, and mail/plan status — even when the user is not logged in.
Run the command:
finger rootSample output:
Login: root           			Name: root
Directory: /root                    	Shell: /bin/bash
Never logged in.
No mail.
No Plan.
Directory and Shell come from /etc/passwd. Never logged in. means no recorded login on this host's finger databases — common for service-style accounts or fresh images.
Essential Short listing format with -s
-s uses a compact column layout when users are logged in. With nobody logged on, the message matches plain finger.
Run the command:
finger -sSample output:
No one logged on.When sessions exist, expect columns for login, name, TTY, idle time, login time, and office fields per man finger.
Common Long format with -l
-l adds home directory, shell, mail status, and contents of ~/.plan, ~/.project, and related dotfiles when present.
Run the command:
finger -l rootSample output:
Login: root           			Name: root
Directory: /root                    	Shell: /bin/bash
Never logged in.
No mail.
No Plan.
Create a plan file to expose a status line to colleagues: echo 'On call this week.' > ~/.plan — then finger -l shows it under Plan:. Remove the file when done: rm -f ~/.plan.
Common Match login name only with -m
Without -m, finger may treat an argument as a GECOS full-name pattern on some systems. -m restricts matching to login names.
Run the command:
finger -m rootSample output:
Login: root           			Name: root
Directory: /root                    	Shell: /bin/bash
Never logged in.
No mail.
No Plan.
Use -m in scripts when the argument must be an exact username from /etc/passwd.
Common Suppress .plan and .project with -p
-p omits plan and project file contents — useful when you want directory and shell only.
Run the command:
finger -p rootSample output:
Login: root           			Name: root
Directory: /root                    	Shell: /bin/bash
Never logged in.
No mail.
Compare with finger -l root when plan lines should appear.
Common Display a user .plan file
Users can publish a short status in ~/.plan. finger reads it automatically in long mode.
Create a temporary plan and query it:
echo 'Working on cheatsheet refresh.' > /root/.plan
finger -l root
rm -f /root/.plan
Sample output while the file exists:
Login: root           			Name: root
Directory: /root                    	Shell: /bin/bash
Never logged in.
No mail.
Plan:
Working on cheatsheet refresh.
The plan file is world-readable by default — do not put secrets in it.
Advanced Unknown username error
finger looks up local passwd entries. A typo or deleted account returns a clear error.
Run the command:
finger bogususerSample output:
finger: bogususer: no such user.Verify the account with getent passwd bogususer before assuming a finger bug.
Advanced Remote finger is usually blocked
Remote queries need a finger service on the target host — rarely enabled on modern Linux servers.
Run the command (expected to fail or hang on most hosts):
finger [email protected]Sample outcome when fingerd is not listening (timeout or connection refused):
finger: connect: Connection timed outUse SSH and local finger username (or getent passwd) instead of remote finger on production systems.
finger — when to use / when not
| Use finger when | Use something else when |
|---|---|
|
|
finger vs pinky
| finger | pinky | |
|---|---|---|
| Package | finger (optional) |
Often bundled with util-linux |
| User detail | Home, shell, .plan, mail status |
Primarily logged-in session columns |
| Remote queries | user@host syntax |
Local sessions only |
| Default install | Usually not installed | Often present |
On minimal Ubuntu systems, pinky may be available when finger is not — use pinky for a quick TTY list, finger when you need plan files and passwd details.
Related commands
| Command | One line |
|---|---|
| finger | User lookup and session details (this page) |
who |
Logged-in users |
w |
Who is on and what they are running |
getent passwd |
Query passwd database |
| usermod | Change user account fields |
Browse the full index in our Linux commands reference.
finger — interview corner
What is the finger command?
finger is a user information program from classic Unix. Locally it can:
- List logged-in users (TTY, idle time, login time)
- Show account details for a named user (home, shell, mail)
- Display optional
~/.planand~/.projecttext files
It does not modify accounts — read-only lookup. Many distros ship it as an optional package.
A strong answer is:
"finger reports logged-in users and can look up a username's home, shell, and plan file. It's legacy but still handy on multi-user hosts when the package is installed."
Why does finger say 'No one logged on'?
finger lists users with active login sessions on TTYs or pseudo-terminals it knows about. You see No one logged on. when:
- The system is idle (common on headless servers)
- Users connect only via SSH without allocating a finger-visible session
- Console login is disabled
That is normal on minimal cloud images — not a broken install. Confirm with who and w.
A strong answer is:
"It means no finger-visible login sessions — typical on idle servers. I'd cross-check with who or w, and use finger username for passwd details even when nobody is logged in."
How is finger different from who?
who (and w) focus on current sessions — minimal columns, almost always installed.
finger adds per-user dossier mode: home directory, shell, mail status, plan/project files, and optional remote user@host queries.
For a quick "who is on the box?" use who. For "what is in this user's plan file?" use finger.
A strong answer is:
"who is the lightweight session list; finger adds richer account info and plan files. On servers I often use who first, finger when I need home, shell, or .plan."
Why is finger often disabled?
finger can expose login activity, usernames, and host details — historically including remote queries via fingerd. Attackers used it for reconnaissance.
Modern practice:
- Do not run fingerd on internet-facing hosts
- Install client
fingeronly where admins need it - Prefer SSO/logging tools for enterprise auditing
A strong answer is:
"finger leaks session and account metadata — remote fingerd is mostly gone. I use it locally if needed, but wouldn't expose finger services publicly."
What do finger -l, -s, -m, and -p mean?
| Flag | Effect |
|---|---|
-s |
Short column format for logged-in users |
-l |
Long format — home, shell, mail, plan/project files |
-m |
Match login names only (no GECOS name search) |
-p |
Suppress plan and project output |
A strong answer is:
"-s is short session listing, -l is long with plan files, -m forces login-name match, -p hides plan/project text."
Troubleshooting
| Symptom | Likely cause | Fix |
|---|---|---|
finger: command not found |
Package not installed | sudo apt install finger (Ubuntu/Debian) or distro equivalent |
No one logged on. |
No active finger-visible sessions | Normal on idle servers; use finger username for account info |
no such user |
Typo or missing account | getent passwd username |
Remote Connection refused |
fingerd disabled or firewalled | SSH in and run local lookup commands |
| Plan file not shown | Missing file or -p flag |
Add ~/.plan or use finger -l without -p |
invalid option -- '-' |
This build has no --help |
Use man finger; options are -l, -m, -s, -p only |
References
whoandw— lightweight logged-in session listings (often preinstalled)