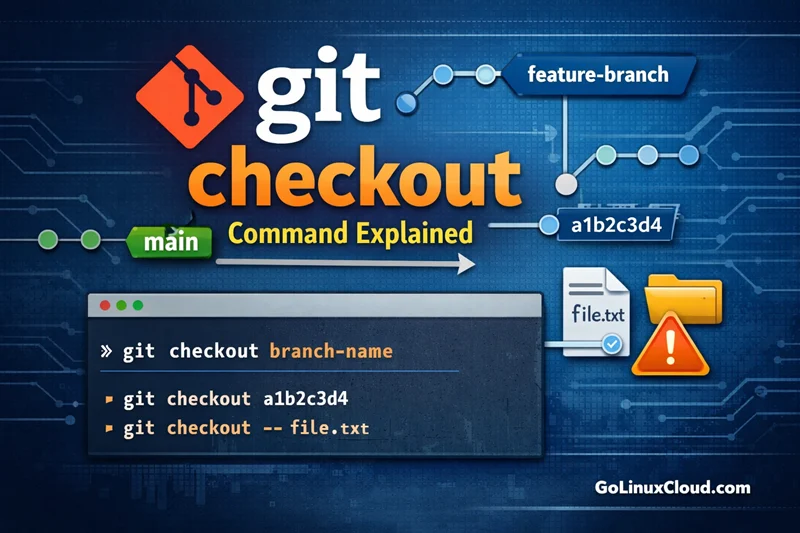
The git checkout command is used to switch branches, view older commits, and restore files in a Git repository. For modern workflows, you can also use git switch and git restore. It updates the HEAD pointer, staging area, and working directory to match the selected branch or commit.
Because it supports multiple workflows, git checkout is one of the most commonly used Git commands when navigating project history or managing branches.
Git Checkout Command Cheat Sheet
| Git Checkout Command | Description |
|---|---|
git checkout branch-name |
Move from current branch to another branch |
git checkout -b new-branch |
Create a branch and switch to it in one command |
git checkout commit-hash |
View project state at a specific commit |
git checkout -b branch origin/branch |
Create local branch tracking a remote branch |
git checkout -- file.txt |
Discard changes and restore file from last commit |
git checkout -- file1 file2 |
Restore multiple files to last committed state |
git checkout . |
Discard all local changes in tracked files |
git checkout -f branch-name |
Force switch branch ignoring local changes |
git checkout - |
Switch back to the last branch |
git checkout HEAD -- file.txt |
Restore file exactly from latest commit |
git checkout -b new-branch commit-hash |
Create branch from older commit |
git checkout commit-hash -- file.txt |
Restore file from a specific commit |
git checkout commit-hash |
Restore commit found using reflog |
git checkout tag-name |
View repository at a specific tag |
How to Checkout a Branch in Git
Switch to an existing branch
To move from your current branch to another existing branch, use the git checkout command followed by the branch name.
git checkout feature-branchWhat happens internally:
HEADmoves to the target branch- The staging area (index) updates to match that branch
- Files in the working directory change to match the branch snapshot
You can verify your current branch using git branch:
git branchThe branch marked with * is the currently active branch.
Create and checkout a new branch
Git allows you to create and switch to a new branch in one command.
git checkout -b new-featureThis command performs two operations:
- Creates a new branch named
new-feature - Switches to that branch immediately
It is equivalent to running:
git branch new-feature
git checkout new-feature
This workflow is commonly used when starting new development tasks or feature work as part of a typical Git branch workflow.
Checkout a Specific Commit in Git
How git checkout commit works
You can use git checkout to view the repository at a specific commit by using the commit hash.
git checkout a1b2c3d4After running this command:
- Git updates the working directory to match the selected commit
HEADpoints directly to that commit instead of a branch
This state is called a detached HEAD, which is explained in detail in detached HEAD guide.
You can inspect old code, test builds, or debug issues without affecting branch history.
Returning back from detached HEAD
If you want to return to your previous branch, simply checkout the branch again.
git checkout mainIf you made changes while in detached HEAD and want to keep them, create a new branch before leaving.
git checkout -b temp-branchThis attaches your work to a new branch so the commits are not lost.
Restore Files Using git checkout
Restore a single file using git checkout
If you modify a file and want to discard the changes, you can restore it to the last committed state using git restore.
git checkout -- index.htmlThis replaces the file in your working directory with the version stored in the latest commit.
Important notes:
- Only affects tracked files
- Uncommitted changes will be permanently lost
Restore multiple files
You can restore several files at the same time by listing them.
git checkout -- file1.txt file2.txtGit replaces both files with their versions from the most recent commit.
This is useful when you want to discard changes to multiple files quickly.
Restore all files using git checkout .
To discard all changes in tracked files across the working directory, use:
git checkout .This command restores every tracked file to the state of the latest commit. You can also clean untracked files using git clean.
Key points:
- Removes all uncommitted changes in tracked files
- Does not delete untracked files
- Changes cannot be recovered once executed
git checkout Options Explained
The git checkout command supports several options that simplify common Git workflows such as creating branches, forcing branch switches, and restoring files.
git checkout -b (create branch)
The -b option creates a new branch and switches to it in one command.
git checkout -b new-featureWhat this command does:
- Creates a new branch named
new-feature - Moves
HEADto that branch - Updates the working directory to match the new branch
This is equivalent to running:
git branch new-feature
git checkout new-feature
This option is commonly used when starting a new feature or experiment.
git checkout -f (force checkout)
If Git detects uncommitted changes that may be overwritten when switching branches, it prevents the checkout operation.
You can force the checkout using:
git checkout -f branch-nameThis command:
- Discards conflicting local changes
- Forces Git to switch to the target branch
⚠️ Use this carefully because any uncommitted changes may be lost.
git checkout -- (restore files)
The -- separator tells Git that the next argument refers to a file path instead of a branch name.
Example:
git checkout -- index.htmlThis restores the specified file to the version stored in the latest commit.
It is useful when you want to discard unwanted modifications to a specific file.
Common git checkout Errors and Fixes
error: Your local changes would be overwritten by checkout
This error occurs when Git detects that switching branches would overwrite files that have uncommitted changes.
Example error message:
error: Your local changes to the following files would be overwritten by checkoutPossible solutions:
- Commit your changes:
git add .
git commit -m "Save work before switching branches"- Stash the changes using git stash:
git stash
git checkout branch-name- Force checkout (discard changes):
git checkout -f branch-namepathspec did not match any files known to git
This error appears when Git cannot find the specified branch or file.
Example error:
error: pathspec 'feature-branch' did not match any file(s) known to gitCommon causes:
- The branch name is incorrect
- The branch has not been fetched from remote
- Typographical errors in the command
Solution:
Fetch remote branches using git fetch and check available branches.
git fetch
git branch -a
Then retry the checkout command.
cannot switch branch due to uncommitted changes
Git prevents switching branches when file modifications may conflict with the target branch.
You can resolve this by either committing or stashing your changes.
Commit changes:
git add .
git commit -m "Save changes"
Or stash changes:
git stash
git checkout branch-name
After switching branches, you can reapply the stashed changes if needed.
git checkout vs git switch vs git restore
The git checkout command historically handled multiple tasks including switching branches and restoring files. However, this sometimes caused confusion for new users.
To simplify Git workflows, newer commands were introduced.
Why Git introduced switch and restore
Git introduced two separate commands:
- git switch → used only for switching branches
- git restore → used only for restoring files
These commands provide clearer intent and reduce the risk of accidental file changes.
Examples:
git switch feature-branch
git restore index.html
Even though these commands exist, git checkout is still widely used and supported.
When to use each command
| Command | Purpose |
|---|---|
git checkout |
Multi-purpose command for branches, commits, and files |
git switch |
Recommended for switching branches |
git restore |
Recommended for restoring files |
For new Git users, switch and restore make workflows easier to understand, while experienced users often continue using git checkout.
Frequently Asked Questions
1. What is the git checkout command used for?
2. How do I checkout a branch in Git?
git checkout branch-name. To create and switch to a new branch in one command, use git checkout -b new-branch.3. What happens when I run git checkout on a commit?
git checkout <commit-hash>, Git moves HEAD directly to that commit instead of a branch. This creates a detached HEAD state where new commits are not attached to any branch.4. What does git checkout . mean?
git checkout . restores all tracked files in the working directory to their last committed state. It removes all uncommitted changes from tracked files.5. What is the difference between git checkout, git switch, and git restore?
git switch for branch switching and git restore for restoring files to make workflows clearer.Summary
The git checkout command is one of the most versatile tools in Git. It allows developers to switch branches, inspect older commits, restore files, and recover work when navigating project history.
Although Git now provides specialized commands like git switch and git restore, understanding git checkout remains essential because it is still widely used in existing workflows and documentation.
By mastering git checkout, you gain better control over branches, commits, and working directory changes in your Git repositories. For related troubleshooting, see cannot delete checked-out branch error.
