
Picard is a popular music tagging application that allows users to manage their music collections by automatically tagging, organizing, and renaming music files. Installing Picard on Ubuntu is a straightforward process that can be done using the Ubuntu package manager. Once installed, users can easily manage and organize their music collections, making it easier to find and play their favorite songs. In this article, we will provide step-by-step instructions on how to install Picard on Ubuntu, along with some tips on how to use it to manage your music collection. Whether you are a music enthusiast or just looking for a better way to organize your music files, installing Picard on Ubuntu is a great way to take control of your music collection.
Pre-requisites
Before installing Picard on Ubuntu, you should ensure that you have Python and the GTK+ toolkit installed on your system. Both of these pre-requisites are required for Picard to run correctly.
To check whether Python is installed on your system, open a terminal and enter the following command:
python --version
If Python is not installed, you can install it using the following command:
sudo apt-get install python
To check whether the GTK+ toolkit is installed on your system, enter the following command:
dpkg -s libgtk-3-dev | grep Status
If the output shows that the package is not installed, you can install it using the following command:
sudo apt-get install libgtk-3-dev
By ensuring that you have these pre-requisites installed on your Ubuntu system, you can proceed with installing Picard and begin managing your music collection.
Different methods to install Picard on Ubuntu
You can find the operating systems and installation steps where you can install Picard. We will show 3 methods for installation on Ubuntu. Standard Ubuntu repositories have the Picard package, you can install this package. You can also use Picard's stable and Daily PPAs to install Picard on Ubuntu. Let's start the installation.
Method-1: Install Picard From Repository
According to the Ubuntu versions, the Picard packages available in the repository are as follows:
- bionic (18.04LTS)(sound):
Next-Generation MusicBrainz audio files tagger [universe]
1.4.2-1: amd64 arm64 armhf i386 ppc64el s390x - focal (20.04LTS)(sound):
Next-Generation MusicBrainz audio files tagger [universe]
2.3.1-1: amd64 arm64 armhf ppc64el s390x - jammy (22.04LTS)(sound):
Next-Generation MusicBrainz audio files tagger [universe]
2.7.3-1: amd64 arm64 armhf ppc64el s390x - kinetic (22.10)(sound):
Next-Generation MusicBrainz audio files tagger [universe]
2.8.3-1: amd64 arm64 armhf ppc64el s390x - lunar(sound): Next-Generation
MusicBrainz audio files tagger [universe]
2.8.5-1build1: amd64 arm64 armhf ppc64el s390x
Start the installation with the following command:
$ sudo apt install picard -y
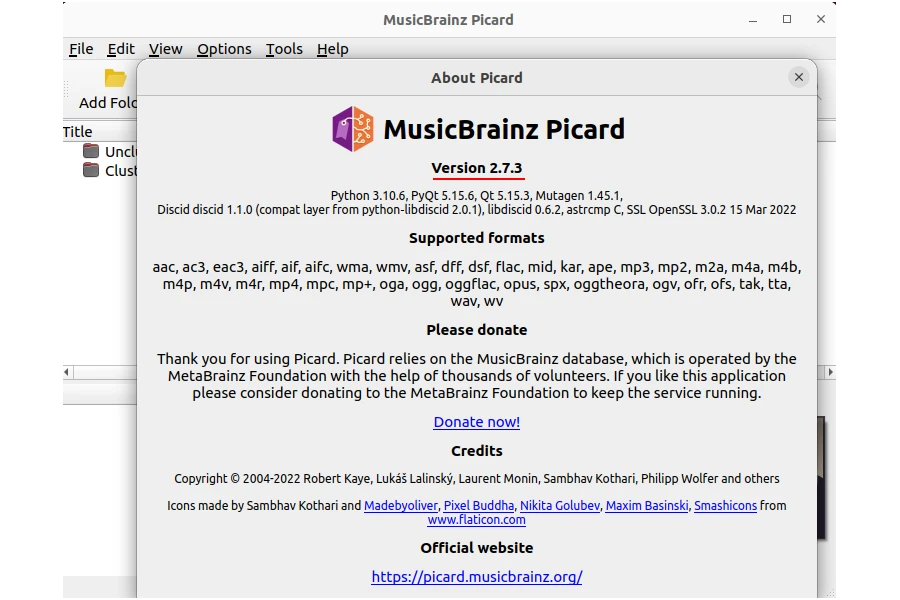
For Ubuntu 22.04 the installation completed successfully.
$ picard -v
MusicBrainz Picard 2.7.3
You can open Picard from the Applications menu.
Method-2: Install with StablePPA
Click on the stable PPA link for Ubuntu on the Picard official download address.
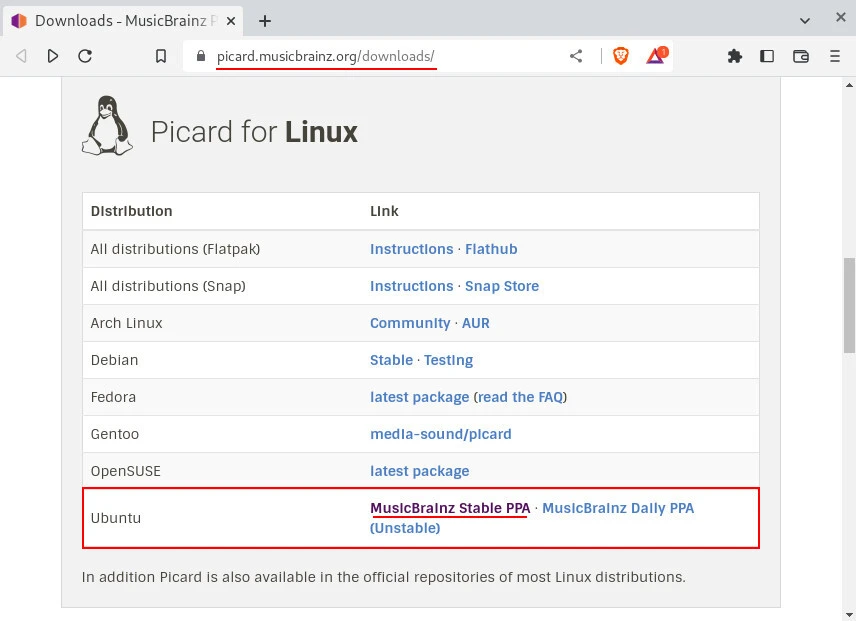
Enter the repository to the system by typing the Stable PPA address as follows on the page that opens.
$ sudo add-apt-repository ppa:musicbrainz-developers/stable
Repository: 'deb https://ppa.launchpadcontent.net/musicbrainz-developers/stable/ubuntu/ jammy main'
More info: https://launchpad.net/~musicbrainz-developers/+archive/ubuntu/stable
Adding repository.
Press [ENTER] to continue or Ctrl-c to cancel.
...
Then update the package list:
$ sudo apt update -y
And start the Picard installation:
$ sudo apt install picard -y
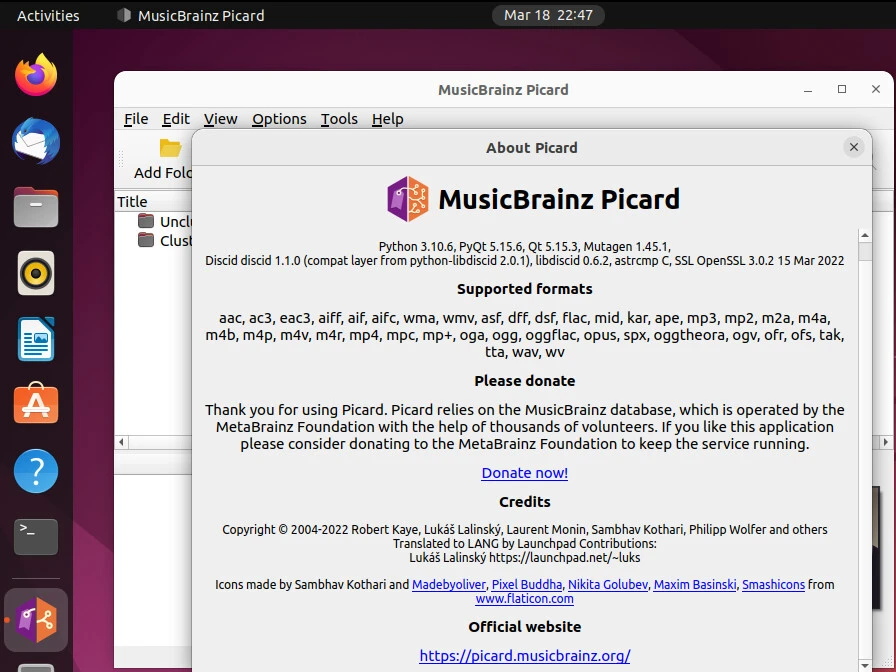
Picard installation completed successfully. Version:
$ picard -v
MusicBrainz Picard 2.8.5
You can start using version 2.8.5 by opening Picard from the menu.
Method-3: Install with DailyPPA
This method is unstable but you get daily version. In this method, you get a higher version than the source code installation. First add the repository to the system:
$ sudo add-apt-repository ppa:musicbrainz-developers/daily
Repository: 'deb https://ppa.launchpadcontent.net/musicbrainz-developers/daily/ubuntu/ jammy main'
More info: https://launchpad.net/~musicbrainz-developers/+archive/ubuntu/daily
Adding repository.
Press [ENTER] to continue or Ctrl-c to cancel.
...
Then install Picard:
$ sudo apt install picard -y
This time Picard version:
$ picard -v
MusicBrainz Picard 2.9.0a1
You will continue to receive daily versions as long as this repository is not removed from the system.
Summary
In this article, we have provided step-by-step instructions on how to install Picard on Ubuntu. We have also discussed the pre-requisites required for installing Picard, which include Python and the GTK+ toolkit.
We have explained three different methods for installing Picard on Ubuntu: installing from the Ubuntu repository, installing with the stable PPA, and installing with the daily PPA. Each method offers a slightly different installation experience, but all of them provide an easy way to install and use Picard to manage your music collection on Ubuntu. There is difference in stability with different versions. We did not install with source code, daily PPA offers higher version usage than source code. The source code version is 2.8.5.
By following the instructions provided in this article, you can choose the installation method that works best for you and begin using Picard to organize and manage your music collection with ease.
If you are new to Picard or want to learn more, you can start with official picard page. If you have problems with the installation, you can write in the comment.
References
musicbrainz.org - <a href="https://musicbrainz.org/doc/Picard_Linux_Install" target="_blank" rel="noopener"
Picard Linux Install


![Steps to Install Darktable on Ubuntu [4 Methods]](/steps-to-install-darktable-on-ubuntu-4-methods/install-darktable-ubuntu_hu_f8517f63163b0d91.webp)


![How to Install Chkrootkit on Ubuntu? [Step-by-Step]](/install-chkrootkit-on-ubuntu/install-chrootkit-ubuntu_hu_1295ec8cece3ddb1.webp)