
What is Jinja2
Jinja2 is a python HTML template engine. A template engine is a piece of software that combines HTML documents with data from any data source to produce an HTML formatted file that contains the data. Jinja2 is the template engine used in flask, it is built in flask, so you do not need to download a separate package to use jinja2 with flask, it is installed with flask. If you are new to the framework, start with a Flask web application tutorial before diving into templates. Even if you are planning to use a different template engine, jinja2 will still be required in order for flask to run. Jinja2 offers a lot of options when it comes to adding, manipulating or formatting data in the HTML file. In this article we will go through the ways by which you can utilize jinja2 for the benefit of your flask app. Here is some of what jinja2 offers in Flask Templates:
- You can pass any data from your flask app to the HTML template.
- Autoescaping ( which is enabled by default).
- Filters
- Context processors.
- Template inheritance.
We will explain each one of those in this article.
Setting up the environment
Before you start this tutorial flask should be installed in your virtual
environment. I will store my files and web app script inside
flask_template directory. To create a virtual environment named menv
use the following command:
deepak@ubuntu:~$ mkdir flask_template; cd flask_template

deepak@ubuntu:~/flask_template$ python3 -m venv menv
Then you can activate the virtual environment like this:
deepak@ubuntu:~/flask_template$ source ./menv/bin/activteOnce the virtual environment is active, you can install flask (jinja2 is built in) using the following command:
(menv) deepak@ubuntu:~/flask_template$ pip3 install FlaskBy default, flask looks for templates in a directory called
templates/which is located in the same directory as the flask app, so
all the templates that you are planning to use the app, should be placed
in templates/ directory. Let's create it.
Navigate to the directory where the flask app is located and run this command:
(menv) deepak@ubuntu:~/flask_template$ mkdir templatesNow we are ready to start the tutorial.
Passing data to the front-end
Jinja2 allows as to pass data form our back-end to the front-end easily,
the variables that we pass are called context . In apps that load records from a database with Flask-SQLAlchemy, query results reach templates through the same render_template() pattern. Here is an example of
passing a variable to the front-end:
from flask import Flask
from flask.templating import render_template

app = Flask(__name__)

@app.route("/")
def main():
    var = "foo"
    return render_template("index.html", var=var)

if __name__ == "__main__":
app.run(debug=True)In the above piece of code we created a flask endpoint that returns a
template named index.html when a user visits it. We used the
render_template() method to return the index.html template, in
addition, this method also allows us to specify the variables that we
would like to pass to the front-end as keyword arguments(kwargs)
var=var. We passed the var variable to the index.html .
To see how jinja2 allows us to use the variable in the index.html
template, we need to first create it:
(menv)deepak@ubuntu:~/flask_template$touch templates/index.htmlNow let's open index.html in any IDE or code editor and use
thevar variable:
<!DOCTYPE html>
<html lang="en">
<head>
    <meta charset="UTF-8">
    <meta http-equiv="X-UA-Compatible" content="IE=edge">
    <meta name="viewport" content="width=device-width, initial-scale=1.0">
    <title>Document</title>
</head>
<body>
    {{ var }}
</body>
</html>- Notice the
{{ var }}variable between the curly brackets.
We can use any variable that was passed from flask by putting them
between {{ }}, this is the jinja2 syntax. But jinja2 allows us to do
more complex operations that just displaying a variable, this includes
for loops and if statements.
Execute the python flask web app to verify these changes:
(menv) deepak@ubuntu:~/flask_template$ python3 app.py
 * Serving Flask app 'app' (lazy loading)
 * Environment: production
   WARNING: This is a development server. Do not use it in a production deployment.
   Use a production WSGI server instead.
 * Debug mode: on
 * Running on http://127.0.0.1:5000/ (Press CTRL+C to quit)
 * Restarting with stat
 * Debugger is active!
 * Debugger PIN: 370-814-977
Next you can access the flask web app using http://127.0.0.1:5000 as
shown below:

Use for loops in flask jinja2 templates
One of the most useful features of a template engine is iterating over an iterable. We can pass an iterable from the back-end to the front-end and jinja2 will allow us to loop through the whole iterable. Let's see an example, we will modify the flask endpoint that we created earlier to make it pass a list to the front-end as context.
from flask import Flask
from flask.templating import render_template
app = Flask(__name__)
@app.route("/")
def main():
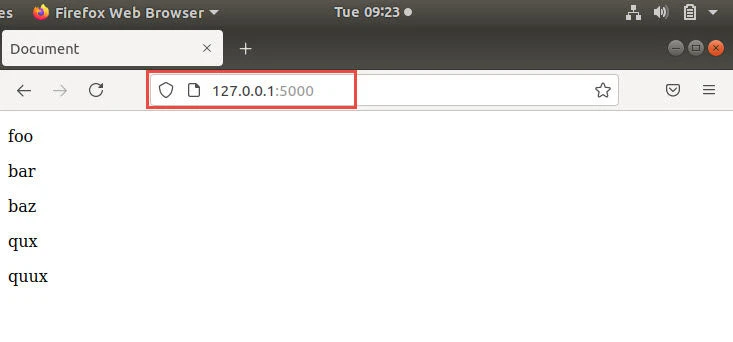
vars_list = ["foo", "bar", "baz", "qux", "quux"]
return render_template("index.html", vars_list=vars_list)
if_name__ == "__main__":
app.run(debug=True)Now that we have passed a list to the front-end, let's see how we can
loop over the list using jinja2 in our index.html.
<!DOCTYPE html>
<html lang="en">
<head>
    <meta charset="UTF-8">
    <meta http-equiv="X-UA-Compatible" content="IE=edge">
    <meta name="viewport" content="width=device-width, initial-scale=1.0">
    <title>Document</title>
</head>
<body>
    {% for var in vars_list %}
        <p> {{ var }} </p>
    {% endfor %}
</body>
</html>
As you can see, we can loop over the passed list using the above syntax.
We put the for loop in {% %} and then we put the HTML code that gets
rendered in each iteration and finally we end the loop using a
{% endfor %}.
When a user visits the flask endpoint, this should be rendered:
Use if statements with jinja2 flask templates
Jinja2 also allows us to use if statements in HTML templates. It is
like if statements in any other language. Here is an example:
Let's edit the flask endpoint:
@app.route("/")
def main():
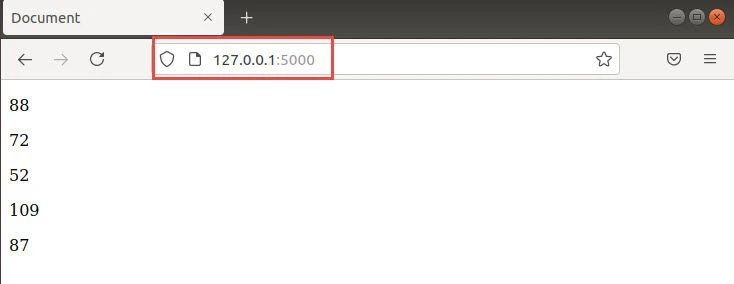
num_list = [88, 9, 72, 45, 52, 109, 87, 32, 24]
return render_template("index.html", num_list=num_list)
if __name__ == "__main__":
app.run(debug=True)Now let's use the if statement in the index.html flask template:
<!DOCTYPE html>
<html lang="en">
<head>
    <meta charset="UTF-8">
    <meta http-equiv="X-UA-Compatible" content="IE=edge">
    <meta name="viewport" content="width=device-width, initial-scale=1.0">
    <title>Document</title>
</head>
<body>
    {% for number in num_list %}
        {% if number > 50 %}
            <p>{{ number }}</p>
        {% endif %}
    {% endfor %}
</body>
</html>
As seen above, the syntax for if statements in jinja2 is to put the
condition inside {% %} and then we put the code that takes place if
the if condition evaluates to true, finally we end with {% endif %}.
The above if statement displays numbers above 50 only.
Now if we visit the endpoint at "127.0.0.1:5000/", we will see that
only numbers more than 50 are displayed:
Default context in jinja2 templates
We just explained how we can pass variable from the back-end to the
front-end, but there are other variables and functions that are
available by default in every template, these include the request
object which is the current request, session object which is the
current session of the user, the g object which is used to store the
user's data between requests. As to the functions, the url_for()
function is available bu default in all templates, this function is
used to construct the URLs for your app, also
the get_flashed_messages() function is available which is used to get
the messages from the back-end if any.
Autoescaping
Autoescaping is a method used in template engines to provide defense againist cross-site scripting (XSS). Autoescaping is the process of replacing the variables that you put that may affect the structure of the HTML file wtih safe characters. jinja2 enables autoescaping by default, but you can disable it if you want. Here is an example:
{% autoescape false %}
    <p> {{ var }} </p>
{% endautoescape %}
The above variable will not be escaped.
Filters
A very useful feature that jinja2 provides is filters. Filters are
functions that takes a variable as input and returns a value depending
on the variable. There are a bunch of built-in filters that can be used
in jinja2 templates, some of the most used filters are title, upper,
lower and join ,all of which work as their normal python
counterparts str.title() ,str.upper() etc.
Here is an example of a jinja2 filter in action:
Let's modify the endpoint to pass a list of strings to the front-end
using app.py:
@app.route("/")
def main():
    vars_list = ["foo", "bar", "baz", "qux", "quux"]
return render_template("index.html", vars_list=vars_list)Let's use a filter in the index.html template:
<!DOCTYPE html>
<html lang="en">
<head>
    <meta charset="UTF-8">
    <meta http-equiv="X-UA-Compatible" content="IE=edge">
    <meta name="viewport" content="width=device-width, initial-scale=1.0">
    <title>Document</title>
</head>
<body>
    {% for var in vars_list %}
        <p>{{ var|upper }}</p>
    {% endfor %}
</body>
</html>
Now all the variables will be displayed in uppercase.

Creating your own filters
Built-in filters can be useful, but odds are you will want to create a filter that does something so specific to your app that built in filters would not be enough. Thankfully, flask offers developers a way to register their own template filters.
This can be done using the @template_filter(name_of_filter) flask
decorator, let's see and example where we create a filter that displays
only even numbers in our app.py:
@app.template_filter("only_even")
def only_even(num):
    if num%2 == 0:
        return num
return ""Now let's edit the flask endpoint to return a list that consists of a combination of even and odd numbers to see if the filter works:
@app.route("/")
def main():
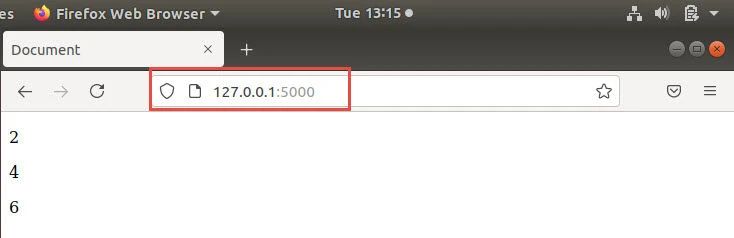
nums_list = [1, 2, 3, 4, 5, 6]
return render_template("index.html", nums_list=nums_list)Finally, we will use the filter in the index.html template:
<!DOCTYPE html>
<html lang="en">
<head>
    <meta charset="UTF-8">
    <meta http-equiv="X-UA-Compatible" content="IE=edge">
    <meta name="viewport" content="width=device-width, initial-scale=1.0">
    <title>Document</title>
</head>
<body>
    {% for num in nums_list %}
        <p>{{ num|only_even }}</p>
    {% endfor %}
</body>
</html>
Now if we navigate to our endpoint:
Context processors
Context processors allow us to make variables available without passing
them to the front-end using the render_template()function. Context
processors allow us to create variables or functions and make them
available to all templates. Context processors are functions that return
a dictionary, the key is the name of the variable which will be used in
the template and value is the data that is stored in the variable, here
is an example where we create two context processors, one for a variable
and another for a function.
We will start by creating the context processor for the variable:
Making a variable available to all templates
@app.context_processor
def inject_var():
return {"var":"foo"}In the above code snippet, we created a context processor using
@context_processor decorator which allows us to create a function that
returns a dictionary which can be used in a template.
We will leave the flask endpoint that we are using as is:
@app.route("/")
def main():
    nums_list = [1, 2, 3, 4, 5, 6]
return render_template("index.html", nums_list=nums_list)Let's use the variable in our index.html template:
<!DOCTYPE html>
<html lang="en">
<head>
<meta charset="UTF-8">
<meta http-equiv="X-UA-Compatible" content="IE=edge">
<meta name="viewport" content="width=device-width, initial-scale=1.0">
<title>Document</title>
</head>
<body>
{% for num in nums_list %}
<p>{{ num|only_even }}</p>
{% endfor %}
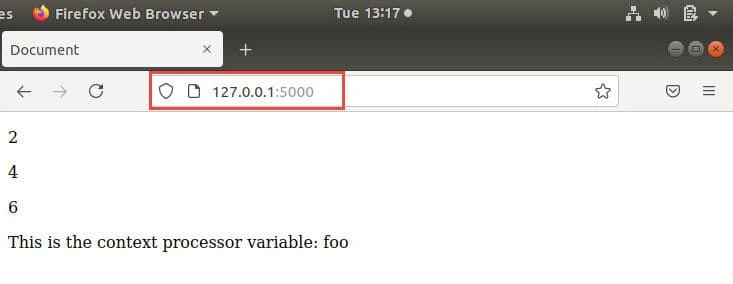
<p>This is the context processor variable: {{ var }}</p>
</body>
</html>As seen above, the variables created using the context processors can be
rendered using the key of the dictionary surrounded by {{ }} just
like the variables that we passed as context using render_template().
Now if we navigate to the 127.0.0.1:5000/:
Context processors can also make functions available to all templates. In the next example we will use the function that we used in the filter's example (the function returns even numbers only):
@app.context_processor
def util_funtion():
    def only_even(num):
        if num%2 == 0:
            return num
        return ""
    return {"only_even": only_even}

@app.route("/")
def main():
    nums_list = [1, 2, 3, 4, 5, 6]
return render_template("index.html", nums_list=nums_list)Now let's use the function in the index.html template:
<!DOCTYPE html>
<html lang="en">
<head>
    <meta charset="UTF-8">
    <meta http-equiv="X-UA-Compatible" content="IE=edge">
    <meta name="viewport" content="width=device-width, initial-scale=1.0">
    <title>Document</title>
</head>
<body>
    {% for num in nums_list %}
        <p>{{ only_even(num) }}</p>
    {% endfor %}
</body>
</html>- Notice how we use it like a normal python function, not a filter.
Visit 127.0.0.1:5000/ to test it:

Template inheritance
There are two ways to style HTML in flask, the first one would be adding
the CSS in the <style> tag and the javascript in the <script> tag
and keeping everything in the same HTML file. But this would be
inefficient in case you have multiple HTML templates and you want to
change the CSS in all of them, you will need to change the CSS in each
HTML file one at a time.
The second and more efficient way that utilizes the jinja2 template engine would be by creating separate CSS and javascript files and then linking them to your base HTML file and overriding only specific parts of the base file, this will be way more clear once you see an example.
Lets create our base HTML file, we will call it base.html:
<!DOCTYPE html>
<html lang="en">
<head>
        <meta charset="UTF-8">
        <meta http-equiv="X-UA-Compatible" content="IE=edge">
        <meta name="viewport" content="width=device-width, initial-scale=1.0">
        <title>{% block title %} {% endblock %}</title>
        <link rel="stylesheet", href="{{ url_for('static', filename='style.css') }}">
</head>
<body>
      {% block body %} {% endblock %}
</body>
Here we linked CSS file to base.html file using the url_for()
method that comes as default context in jinja2, the url_for() method
looks for the static files in a directory called static (The same way
render_template() looks for templates in the template/ directory),
it should be in the same level as the flask app and the templates
directory. Navigate to your app directory, and create a directory
called static and inside it, a file named style.css:
(menv)deepak@ubuntu:~/flask_template$mkdir static && touch static/style.cssAt this point. your directory structure should look something like this:
.
├── app.py
├── menv
│ └── .....
├── static
│    └── style.css
└── templates
        ├── base.html
        └── index.html
Let's add styling to the static/style.css file that inverts color just
as example:
body
{
    background-color: black;
    color: white
}
Now lets talk about {% block title %}, {% block body %} and
{% endblock %} .These are just placeholders for the actual content
that you want to display in the HTML page, they will be overridden with
your content and the content will be displayed exactly where you placed
them, here is an example, lets edit index.html and make it inherit
from base.html.
{% extends 'base.html' %}
{% block title %} example title {% endblock %}
{% block body %}
    {% for num in nums_list %}
        <p>{{ only_even(num) }}</p>
    {% endfor %}
{% endblock %}
We start by extending base.html, this tells jinja2 to add all the HTML
code before, after and between the placeholder, this includes the CSS
and javascript links, so all the styling in the style.css file is
applied to this file as well. This is called template inheritance.
If we visit 127.0.0.1:5000/:
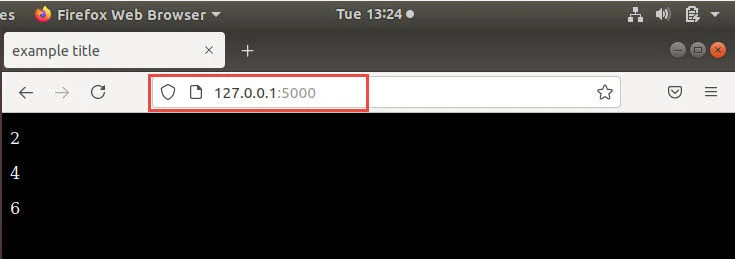
Template inheritance really shines when a project consists of multiple templates because it facilitates managing all the templates. When a developer wants to make a change to the design or to the HTML itself, making a change in the base HTML will be sufficient, as all the other templates will inherit this change.
Summary
In this article we went through all features that jinja2 offers which include passing context to the front-end, we explained what autoescaping is and how to disable it, we used filters and context processors and learnt how to create our own, and finally we used template inheritance.
