
Hello learners, in this article we will be learning how we can use AWS CloudFormation in detail. Many organisations over the world including Accenture , Zendesk, Lorven Technologies etc.. are already using Cloudformation to make the deploying of their infrastructure automated and easier. With that in mind, let's get started.
What is CloudFormation?
AWS CloudFormation provides a platform and language that allows you to model your resources in the form of template that can be deployed as an AWS stack. You can develop and use them in a systematic and predictable manner. You can start from creating resources from the console to automating complicated architecture on demand with CloudFormation. With CloudFormation, you can easily replicate your application environment with only a few clicks.
Concepts of CloudFormation
There are 3 crucial concepts you have to take note of when you are working with Cloudformation
- Template
- Stack
- Change Set
Let's take a look at each of them.
Template
Template is the most important part of the Cloudformation since template is the medium through which Cloudformation will deploy all the resources. Template can be in either JSON or YAML format and can be reused any number of times. It can be deployed using the Console or CLI.
Let's get deeper in understanding the actual components and how to write a template:
- Format version : Format version basically defines the capability of a template . The latest version is 2010-09-09and is currently the only valid value.
- Description : Any comments about the template you are deploying can be specified in the description so that any other employee or user can understand it.
- Parameters : Parameters are nothing but custom values which get executed at runtime. These parameters will be used by the template when needed.
- Conditions : Conditions define whether certain resources are created or when resource properties are assigned to a value during stack creation or updating. Conditions can also be used to reuse the templates by creating resources in different contexts. You can use intrinsic functions to define conditions.
- Mappings : Mapping lets you to connect keys to its corresponding value that you specify. The keys in mappings must be literal strings and the values can be String or List types. You can use FindinMap intrinsic function to retrieve the values in a map.
- Resources : This section is where you declare the AWS resource you want to be created such as AWS S3 bucket , Lambda or Cloudfront distribution.
- Outputs : Output section is where you can describe the output values that you can use for other stacks or the values that are returned when you view your own stack properties.
These are the main components of every cloudformation template but if you still want to know more information about templates and their documentation then you can always look into : AWS documentation
Stack
When ever you deploy a cloud formation template written in YAML or JSON like the example above, all the resources get created as a Stack. These resources are basically created as a unit and therefore, any update or deletion of resources will be applied to the stack just like policies of AWS. You can use a single template to create numerous stacks as long as there are no naming conflicts.
Change Set
Suppose, you want to update your stack and want to find out what will happen to the running resources before you implement the changes then Change Set is the right option for you. Change sets will allow you to preview how the changes to a stack might impact your running resources, for example, whether the changes you want may delete , conflict or replace any critical resources. AWS CloudFormation will only make the changes to your required stack only when you decide to execute the change set, allowing the end user to decide whether to proceed with your proposed changes or explore other changes by creating another change set. There are 3 ways you can create the Change Sets i.e using the CloudFormation console, AWS CLI, or CloudFormation API.
Benefits of CloudFormation
- The Automation of CloudFormation has been improved. You can describe how you want your resources to appear due to the template's simplicity. Other scripting tools are no longer required to create the resources.
- Infrastructure replication is done quickly. You can swiftly clone your infrastructure while preserving other resources provided by your template. You can make as many stacks as you want with the template.
- It has consistency in infrastructure. The declarative approach to template definition ensures consistency: stacks generated by the template will all be identical.
- The template is very simple to read. You've probably used YAML or JSON previously if you're working on a web application. They are both frequently utilised, making them simple to comprehend and locate resources on.
- There are no manual steps that can result in a mistake. Time and effort to create the infrastructure is reduced and is automated.
S3 Template for CloudFormation
1. Create a simple template for creating an S3 template.
2. Use the following code and save it as bucket.yaml in your editor.
AWSTemplateFormatVersion: 2010-09-09
Description: CloudFormation template for s3 bucket
Resources:
  S3Bucket:
   DeletionPolicy: Retain
   Type: 'AWS::S3::Bucket'
   Description: Creating Amazon S3 bucket from CloudFormation
   Properties:
    BucketName: pictures4everything
    BucketEncryption:
     ServerSideEncryptionConfiguration:
      - ServerSideEncryptionByDefault:
        SSEAlgorithm: AES256
    VersioningConfiguration:
     Status: Enabled
Outputs:
  S3Bucket:
   Description: Bucket creation done using this template.
   Value: !Ref S3Bucket
3.Te above template basically lets you create an S3 bucket with the name you specified in BucketName and will also enable Versioning and ServerSide encryption functionalities of an S3 bucket.
If you want to add more resources and properties then please check out : AWS documentation
Creating S3 bucket using CloudFormation
1. Login to your AWS Console and navigate to Cloudformation

2. Now, click on Create Stack.
3. Select Template is ready and upload your template file

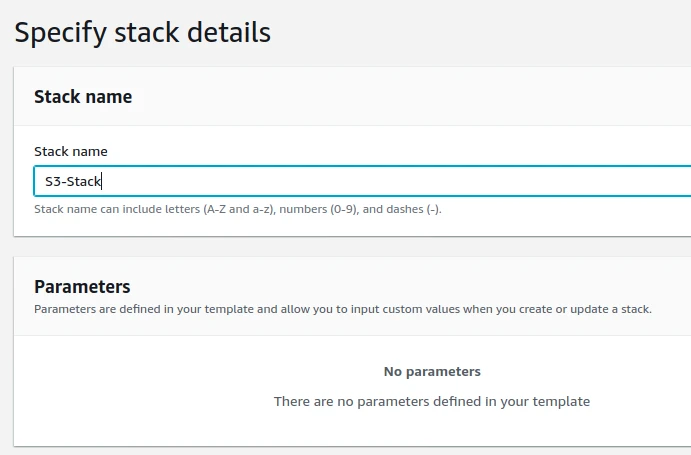
4. Next, you can enter any stack name you want.
5. Leave all the other fields default and click on Create stack.
6. We can see that the Cloudformation stack is created with in 2 minutes.

7. Now, go to S3 and see if your bucket has been created or not.

8. Since you can see that the bucket has been created , now go to it's properties and you will find that both Versioning and Serverside Encryption are enabled.
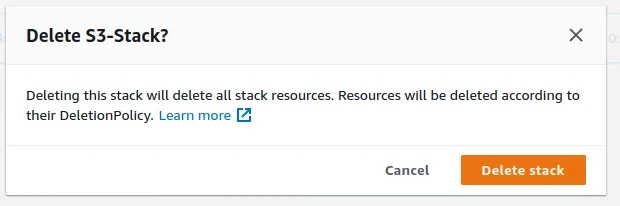
9. Once you are done with your learning then make sure to delete your stack so that you don't incur charges. You can do that by clicking on the stack and click on Delete.
10. That's all for this Cloudformation tutorial!
Bonus
There are lot of templates available in AWS documentation for your testing purposes normally but you can always find more Cloudformation templates in Github and blogs. So make sure to use different templates and play around with them to find out the templates you need and you want to create.
Conclusion
In this article, we have learnt how to use the AWS CloudFormation in detailed and we also went through how to use templates to deploy an S3 Bucket. If you are just getting started in AWS , then please check out our other articles on Cloud. Stay tuned for more upcoming articles on Cloudformation. Please let us know if you encounter any issues in the article in the comments.