A website is an interaction point where users interact with any business. This is why securing the website is crucial because if your site is not secure, there will be a lack of trust leading to loss of customers. One of the critical web components is a web server. Nginx is an open-source software for web serving, reverse proxy, caching, and more.
Securing Nginx is critical to your website security. Installing an SSL certificate can help secure the Nginx server through cryptographic encryptions. This article focuses on the steps of installing SSL on Nginx.
What is an SSL Certificate?
An SSL (Secure Sockets Layer) certificate is a digital certificate that provides encryption and authentication for secure communication over the internet. It is used to establish a secure connection between a web server and a web browser, ensuring that the data transmitted between them remains confidential and cannot be intercepted or tampered with by unauthorized parties.
The SSL certificate contains information about the identity of the website owner, such as the domain name and the organization behind it. It is issued by a trusted Certificate Authority (CA) after verifying the ownership of the domain and validating the identity of the certificate requester.
When a website has an SSL certificate installed, it enables the HTTPS protocol (HTTP over SSL/TLS) instead of the standard HTTP protocol. This means that all data transmitted between the user's browser and the website's server is encrypted, making it extremely difficult for anyone to eavesdrop on or modify the information.
SSL certificates are essential for securing online transactions, protecting sensitive data such as login credentials, credit card information, and personal details. They are commonly used by e-commerce websites, online banking platforms, email services, and any other website that handles sensitive user information.
Importance of SSL Certificates
There are several reasons to install an SSL certificate on your website. For example, SSL certificates encrypt data transmitted between websites and browsers, enabling businesses to protect users' privacy and information security.
SSL certificates help businesses comply with data protection regulations like PCI DSS, GDPR, and HIPAA. Securing Nginx by installing SSL certificates also helps improve search engine optimization (SEO).
For example, search engines like Google have specific guidelines on website security as a critical ranking factor for their search engine results. So installing an SSL certificate on Nginx is essential for website security and better search engine rankings.
If your website is insecure, customers cannot trust your brand. When 92% of customers do business with a company they trust, you must ensure enhanced protection.
Types of SSL Certificates
The type of SSL certificate you need for the Nginx server depends on your needs. If you run a small website that does not collect sensitive information.
However, if you run a larger website collecting or storing sensitive user data, you need an organization or an extended validation certificate.
- Domain Validated (DV) Certificates: DV certificates are the basic type of SSL certificates and provide a low level of validation. They verify only the ownership of the domain, ensuring that the certificate requester has control over the domain they want to secure.
- Organization Validated (OV) Certificates: OV certificates provide a higher level of validation compared to DV certificates. In addition to verifying domain ownership, OV certificates also validate the organization's identity, including its legal existence and physical address. This provides users with more trust and assurance.
- Extended Validation (EV) Certificates: EV certificates offer the highest level of validation and are commonly used by businesses and organizations that require the highest level of trust and security. They involve a rigorous validation process that verifies the legal and physical existence of the entity, along with additional checks. EV certificates trigger the display of a green address bar in most web browsers, indicating a highly secure connection.
- Wildcard Certificates: Wildcard certificates are designed to secure a domain and all its subdomains. They use a wildcard character () in the domain name to cover multiple subdomains with a single certificate. For example, a wildcard certificate for ".example.com" would secure "subdomain.example.com," "www.example.com," and any other subdomain under "example.com."
- Multi-Domain Certificates (SAN Certificates): Multi-Domain certificates, also known as Subject Alternative Name (SAN) certificates, allow you to secure multiple domains or subdomains with a single certificate. They are useful for businesses that manage several websites or have different domain variations.
- Code Signing Certificates: Code signing certificates are specifically designed for software developers. They digitally sign software files, ensuring that they haven't been tampered with or modified since the developer signed them. This helps users trust and verify the authenticity and integrity of downloaded software.
Once you choose the type of SSL certificate to install on the Nginx server. It is essential to choose the right SSL certificate provider available in the market who can provide hassle-free services.
Prerequisites for Installing SSL Certificate on Nginx Server
Before installing an SSL Certificate on an Nginx server, you will need the following:
- Private Key: Generate a private key on the server to decrypt incoming data.
- Access to Nginx Server where it is installed and running.
- Root access to the server to install the SSL Certificate.
- Nginx web server on which you want to install the certificate.
- Server certificate provided by SSL certificate provider.
- Intermediate certificates
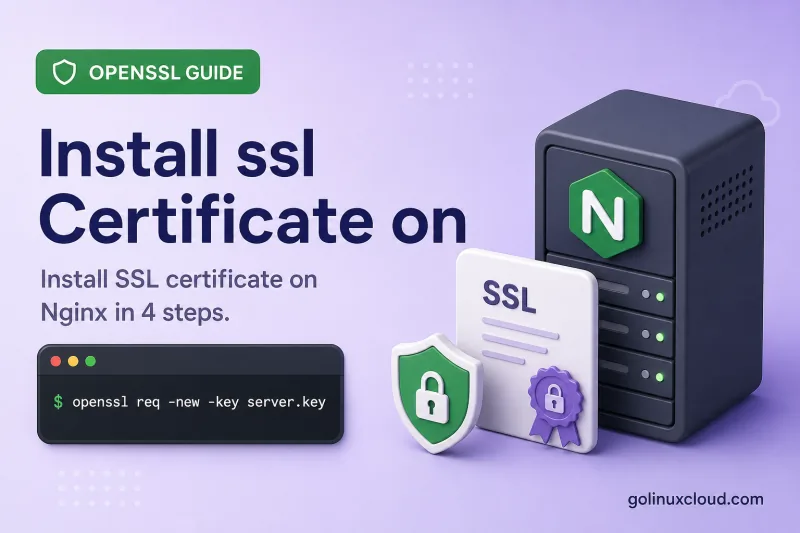
Steps to Install Certificate on Nginx
Before you install the SSL certificate in the Nginx server, generation of the private key, submission of certificate signing request, and issuance of the certificate are key. The process begins by first generating CSR with the private key, and after submission, CA will verify your details to issue the certificate.
Step 1: Generating CSR
First, log on to your server and open the terminal window. Use OpenSSL on Ubuntu or your distro’s openssl package, then
to generate a private key and CSR.
openssl req -new -newkey rsa:2048 -nodes -keyout your_domain.key -out your_domain.csrReplace the “your_domain” with your website’s domain name. Once you execute the above command, there will be questions that you need to answer, like,
- What is the country name where your business is located?
- Name of state
- What is the locality of the business
- Name of the organization
- What is the fully qualified domain name of FQDN?
- Email address
Provide all the details, and OpenSSL will create a CSR file called “ls *.csr” Further copy the file's contents in a text editor to use the following command to submit it,
sudo nano your_domain.csrAfter that, you need to submit the CSR to the SSL provider and fill up necessary basic details for the certificate issuance. Once the domain approval is completed, the CA will verify further business related details if any. Finally, the CA issues a certificate for your Nginx server.
Step 2: Installing the SSL Certificate on Nginx Server
You will receive an SSL certificate through email in a .zip file which you can download and extract all the files. It will consist of a server, root, and intermediate certificate. Combine all three files into one Nginx SSL crt file.
You can combine these files by using a command line tool. It merges the Nginx SSL crt files, but your command will differ based on whether these files were in a single bundle or separately sent through email.
If all Nginx SSL crt are sent separately, use the following command,
cat your_domain.crt intermediate. crt root.crt >> ssl-bundle.crtIf intermediate certificates are all in one bundle. Use the following command,
cat your_domain.crt your_domain.ca-bundle >> ssl-bundle.crtStep 3: Configuring the Nginx SSL crt file.
Find the virtual host file or server block for Nginx. Use the following command to find it if you don’t know its location,
sudo find nginx.confOnce you open the file, make the necessary changes to configure Nginx SSL crt. For example, specify the server to port 443 and ensure it listens to the port by using “listen 443;”.
Further, ensure the installed SSL certificate is operational using “ssl on.” Also, define the path of the certificate file and private key. The entire configuration will look like the following output,
server {
    listen 443;
    ssl on;
    ssl_certificate /etc/ssl/ssl-bundle.crt;
    ssl_certificate_key /path/to/your_private.key;
    root /path/to/webroot;
    server_name my_domain.com;

    access_log /var/log/nginx/nginx.vhost.access.log;
    error_log /var/log/nginx/nginx.vhost.error.log;

    location / {
        root /var/www/;
        root /home/www/public_html/my.domain.com/public/;
        index index.html;
    }
}
Save and exit the Nginx server to complete the process. Now restart the server and check whether the SSL certificate is active and working properly.
Step 4: Verifying SSL Installation
Verifying whether your SSL certificate works is not difficult. You only need to check for a padlock sign on the browser's address bar. You can also use SSL checker to check certificate details. However, if the browser still shows an error while you load your URL, installation errors can occur. The best way to solve the error is to re-install the SSL certificate on the Nginx server.
Conclusion
Cybersecurity threats are increasing, and securing your website is an essential business activity. Securing your websites means better ROI, whether you are a small business, enterprise, or an upcoming entrepreneur.
This is why we have discussed steps to secure your Nginx server with the importance and types of SSL certificates. You can use these steps to install an SSL certificate on Nginx server and secure your server from cyberattacks. If you have doubts about the steps involved in installing an SSL on the Nginx server, feel free to comment below.
