
You are about to set up GitLab with Visual Studio Code in four straightforward steps. First, you will install git and visual studio code on your computer, then create and configure a GitLab account. Finally, you will install a Visual Studio Code extension to boost your productivity.
Let us get started with the basics before diving into how to set up GitLab with visual studio code.
What is GitLab?
GitLab is a remote server to host code. Git, in technical terms, is a distributed version control system. Simply put, git lets several developers work on the same project by having a copy of the project offline in their machines.
On your local machine, git tracks versions of your file changes in a
subdirectory called .git. The tracked changes move from the working
tree to the index, where git temporarily stores them until they are
permanently kept in the git database.
Because you can lose your local files, tracking the same code on a cloud server hosted by a service provider like GitLab or GitHub is crucial. So, why should you set up GitLab with Visual Studio Code?
Why you should set up GitLab with Visual Studio Code
First, visual studio code is an open-source code editor created by Microsoft. In a standard code-tracking environment, you use a terminal or a command line to create, stage, unstage, commit and push changes.
However, sometimes you need a friendly GUI to visualize the workflow. That calls for using a classic code editor like Visual Code Studio, Atom, Sublime Text, or Brackets.
That is all you need to know before you set up GitLab with visual studio code. So let us now dig into this tutorial's primary aim: how to set up GitLab with Visual Studio.
Set up GitLab with Visual Studio Code Step-by-Step
Follow these steps to set up GitLab with Visual Studio Code.
Step 1: Download and configure git
Head over to git's official website and download git for your operating system. The download starts automatically.
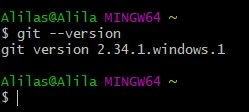
Click on the downloaded file and checkbox your preferred options till you have installed git. Confirm successful git installation by checking the git version on your terminal.
git --version
Let us configure Git because we will need the details when committing changes to GitLab. Run these commands.
git config --global user.name <your username>

git config --global user.email <your email>
Step 2: Download and Install Visual Studio Code
Move to the
Visual Studio Code's website and download the
application. On Ubuntu, install VS Code on Ubuntu covers the Microsoft apt repo, .deb, and Snap instead of the generic download page. Remember to add code to path when installing git on
Windows. Finally, confirm the app's successful installation by checking
its version.
code --version
Step 3: Create a GitLab account and configure it to use Visual Studio Code
We will create a GitLab account then configure SSH keys and Personal Access Token (PAT). The SSH keys let us push changes to a remote GitLab repository, whereas the token enables us to set up GitLab with Visual Studio Code using the GitLab Workflow Extension.
3.1 Create an account
Head over to GitLab's official website. On the landing page, click on Login to evade the subscription part. Otherwise, click on Get Free Trials if you plan to spend money hosting your code on GitLab.
Say you are on the Login page. Under the Sign in button, you see a message, Don't have an account yet? Register now. Click on Register now.
On the Register page, fill in your details and click on Register. Check your email for the GitLab account creation confirmation message. Click on it.
You get directed to the GitLab website, from where you can log in and configure SSH key pairs and Personal Access Tokens, as follows.
3.2 Configure SSH key pair and Personal Access Token
SSH key pairs enable us to log in and set up GitLab with Visual Studio without retyping the username and password for the account. We can then push changes to a remote repo effortlessly.
Head over to your terminal, and generate (private and public) SSH key pairs. We share the public key with GitLab so our local computer can communicate with a remote GitLab server. The two recommended key types are 2048-bit RSA or ED25519.
Let us create an ED25519 SSH key pair by running the following command on the terminal,
ssh-keygen -t ed25519 -C "GitLab SSH Pair"
where -t specifies the key type, whereas -C denotes the comment. You
can change the comment to your preferred message. I will go with default
paraphrase prompts till I generate the SSH keys.

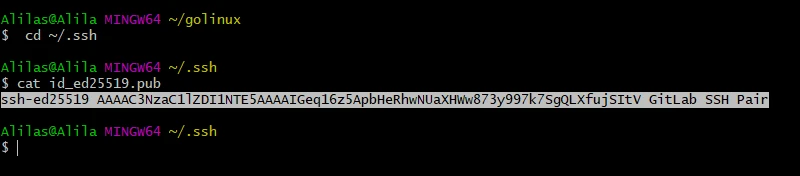
View and copy the public key.
cd ~/.ssh

cat id_ed25519.pub
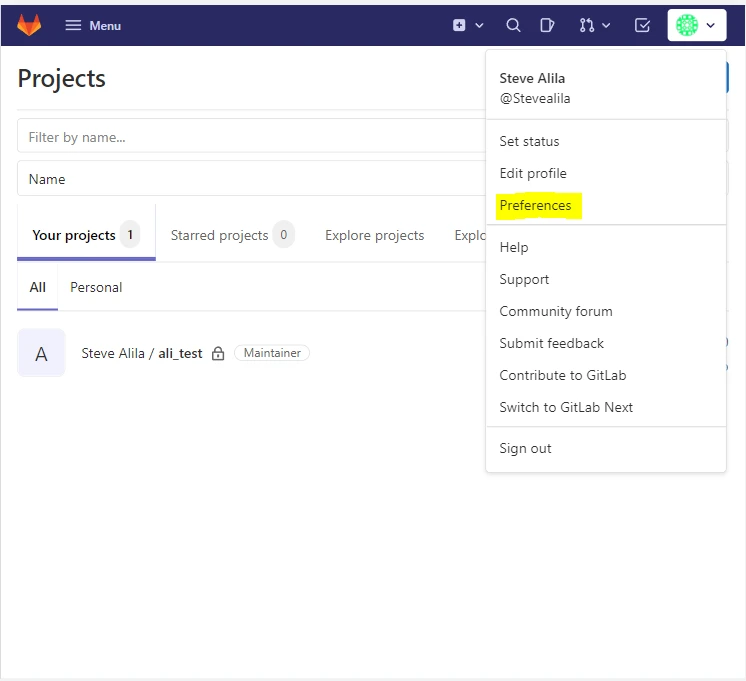
Return to your GitLab account and click on your profile photo followed by Preferences on the dropdown.
Paste the public key in the text area, set the expiry date, and click Add key.
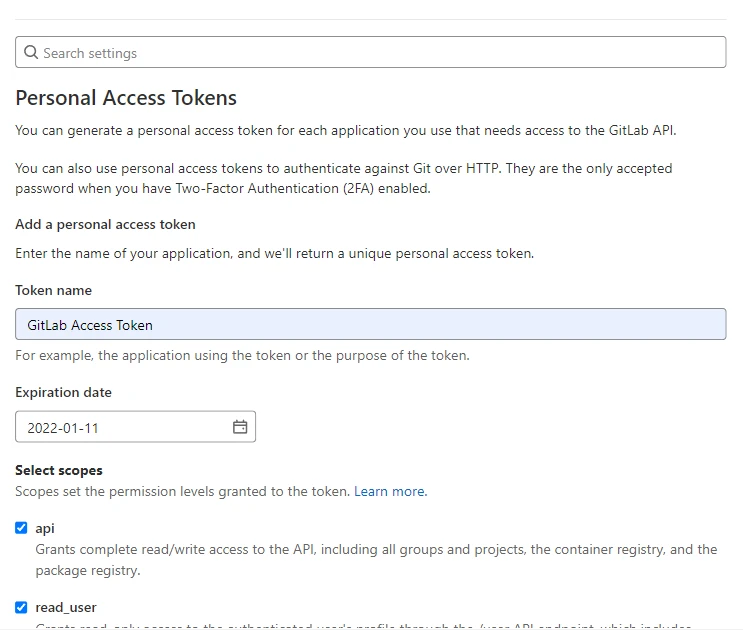
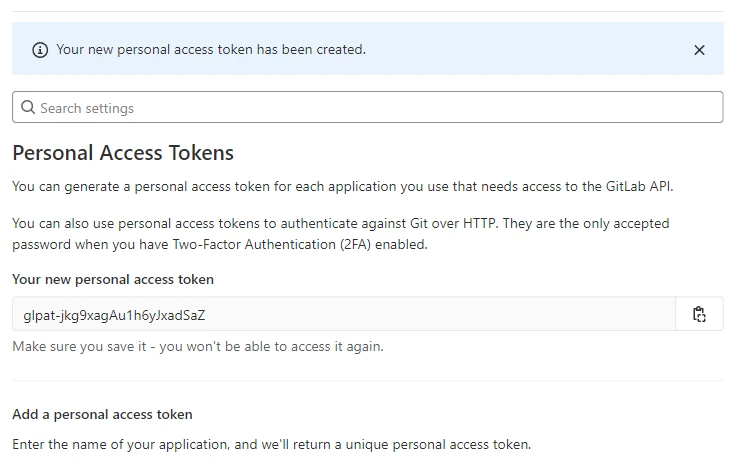
3.3 Generate Personal Access Token
Click on your GitLab profile photo -> Edit Profile -> Access Tokens and add a token name, expiry date, and scope, then click on Create personal access token.
We can see the token and its successful creation notification as screenshotted below.
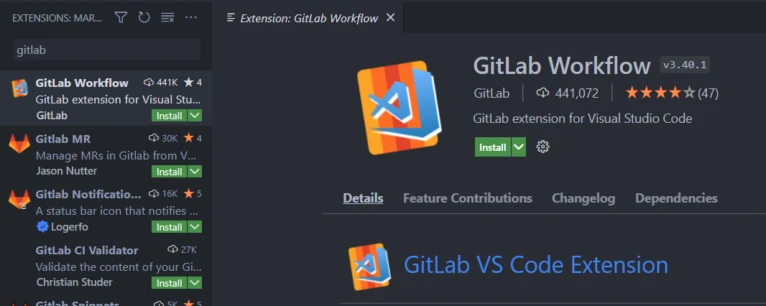
Step 4: Install and configure GitLab Workflow extension
Open Visual Studio Code. Under Extensions, search for GitLab Workflow.
Install the extension, then open the command palette by pressing
Command + Shift + P.
In the command palette, search for GitLab: Add Account and press Enter.
In the URL to GitLab instance, paste the full URL to your GitLab
instance, including the http:// or https://. Our GitLab URL instance
is https://gitlab.com because our Personal Access Token is hosted on
gitlab.com. Press Enter to confirm.
Paste in your GitLab personal access token and press Enter. The token is not displayed, nor is it accessible to others.
To confirm the successful configuration of GitLab Workflow, click on View -> Command Palette and search for GitLab:
What did you notice?
After configuring the GitLab Workflow extension with Personal Access Token, you can manage your GitLab remote repositories. For instance, you can Open Remote Repository, View Current Project and manage your pipelines comfortably from Visual Studio Code.
Let us do some practice with the setup.
Basic workflow example after setting up GitLab with Visual Studio Code
Create your first project on GitLab
I am creating a remote repo on GitLab called practice_repo.

We can
- clone the repo on the command line, then open it with Visual Studio,
- work on a project, and later add the GitLab remote as our upstream, or
- open the project with GitLab Workflow extension and manage it.
Let us go with the second option: create a project from scratch. Open an empty Visual Studio Code window.
Create a file
Open your preferred folder and create a text file with some content.

Stage and commit changes
Open the Source Control tab and Initialize Repository.

The Source Control tab shows we have an untracked change. First, stage
the file by clicking on the plus + sign beside the file name. Next,
enter the commit message in the textbox and click the tick.
Set upstream
Return to GitLab and copy the URL of the repo we created. Click on the
blue Clone button, then copy the SSH URL.

Navigate to Visual Studio Code's terminal and set the remote name.
git remote add origin <your remote's URL>

git remote add origin [email protected]:Stevealila/practice_repo.git
Push changes
Push the changes through the master branch.
git push origin master

Handle merge requests
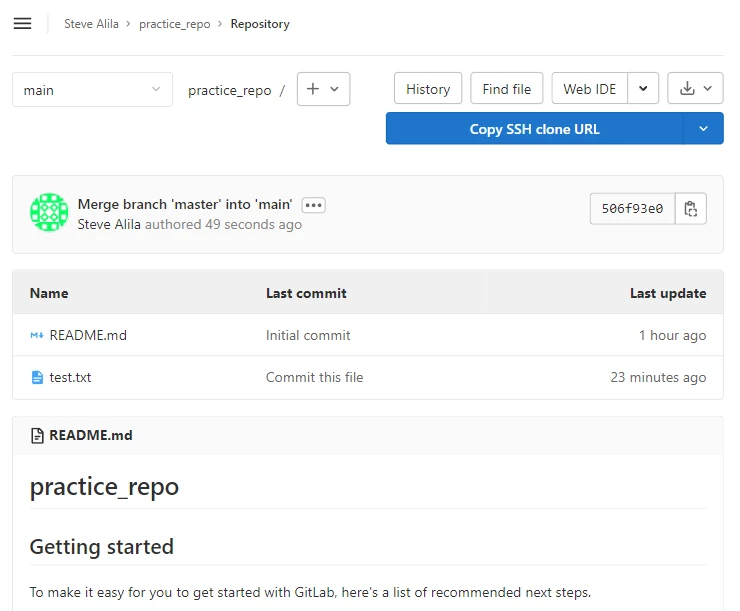
Since the GitLab Workflow extension only accepts Read-only merge requests, let us head over to GitLab and manually merge the changes by clicking the blue button(s).

Move to Repository tab on GitLab. If the merge request was successful, you see an interface similar to mine in the following screenshot.
Summary
Now that you know how to set up GitLab with Visual Studio Code using straightforward steps, go ahead and enjoy your GitLab-Visual Studio Code workflow.
