![Automate phishing campaigns using FiercePhish [Step-by-Step]](/fiercephish/FiercePhish-.jpg)
Overview on FiercePhish
With the help of a robust open-source tool FiercePhish, you can manage a wide range of phishing operations as well as carry out several phishing engagements effectively.
In this guide, we will be installing and running a phishing campaign using FiercePhish. This tool is pretty effective at what it does since it has a wide range of features. The tool was earlier called FirePhish, but in 2017 the name was changed to FiercePhish.
As an advanced phishing framework, it enables its users to carry out various tasks such as; planning and automating when to send emails and track multiple phishing campaigns. The tool can be used to perform a variety of phishing operations even though the project is still under development and more features are being introduced.
****Features:
- Multiple Phishing Campaigns management.
- Activity Logs.
- Prefix to URL- With the help of this function, attackers can create unique URLs that spoof credible sources.
- Two-Factor User Management Authentication.
- Speedy Replacement.
- Email configuration checks.
Pre-requisites
- PC running on Ubuntu (20.04, 18.04, 16.10, 16.04)
- A domain name to send emails.
- Have an active internet connection.
- Basic programming knowledge.
Installing Fiercephish
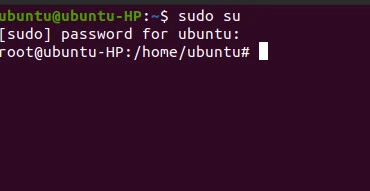
In this guide, we will be installing fiercephish on Ubuntu 20.04. Fiercephish can be installed using two different methods; manual installation and automated installation. Automated installation is the easiest way to install since everything is automated. To install automatically, we first need to ensure we are root before running the installer.
sudo su
Generating configuration file
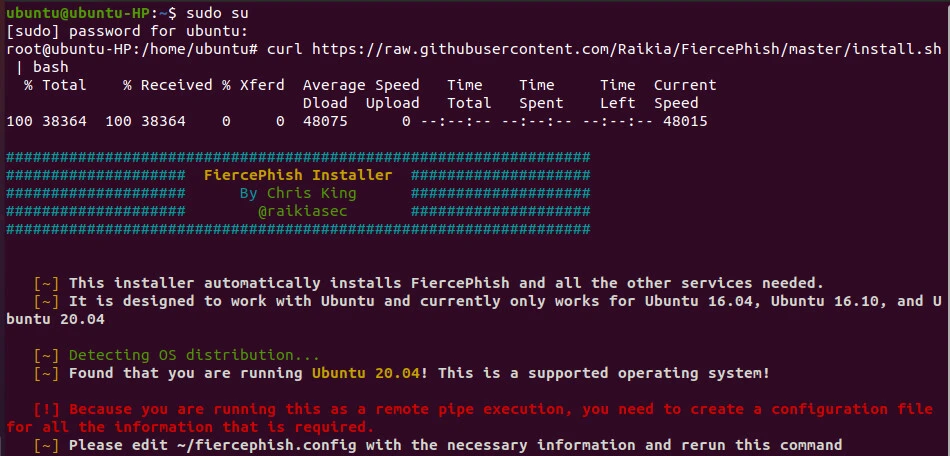
Our next step is to generate a configuration file that we will be using to run the installation.
Pull and run the upstream installer with curl; the curl command covers piping, -fsSL, and verifying scripts before execution.
curl https://raw.githubusercontent.com/Raikia/FiercePhish/master/install.sh | bash
Editing configuration file
A configuration file will be generated and we have to edit it before running the installation.
nano ~/fiercephish.config
Within the file, we will be editing different variables required while installing fiercephish. These variables are:
- CONFIGURED – This has to be set to true for us to be able to continue with the installation.
- VERBOSE – This variable is optional and can be left. However, if you want to monitor the installation, this has to be set to true.
- APACHE_PORT – The default port is 80 but you can change to the port of your choice.
- WEBSITE_DOMAIN – Here we set the domain to be used by the tool, for our case we are running it on a local server hence we leave it at 127.0.0.1
- EMAIL_DOMAIN – The domain we will be using to send emails.
- MYSQL_ROOT_PASSWD – Here we set the database password.
After we are through with editing the configuration file, we can now run the installation.
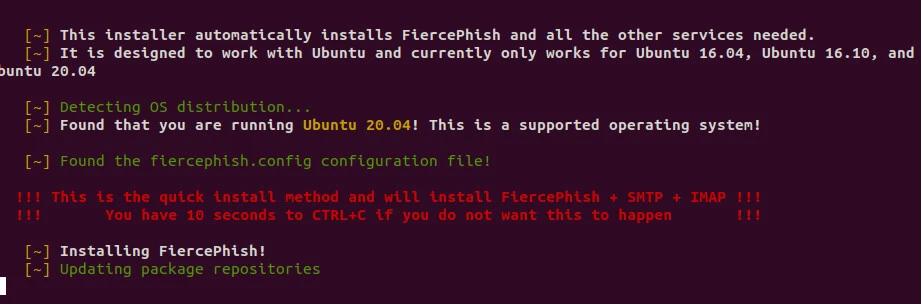
From this point the installation is automated, we can sit back and wait
for fiercephish to finish. When the installation is done we can use
fiercephish from the browser by navigating to 127.0.0.1:<APACHE_PORT>.
Here we will add the port number we had set to use earlier on the
configuration file.

To log in, we will use the admin details we configured earlier on fiercephish configuration file.
Access Fiercephish Options
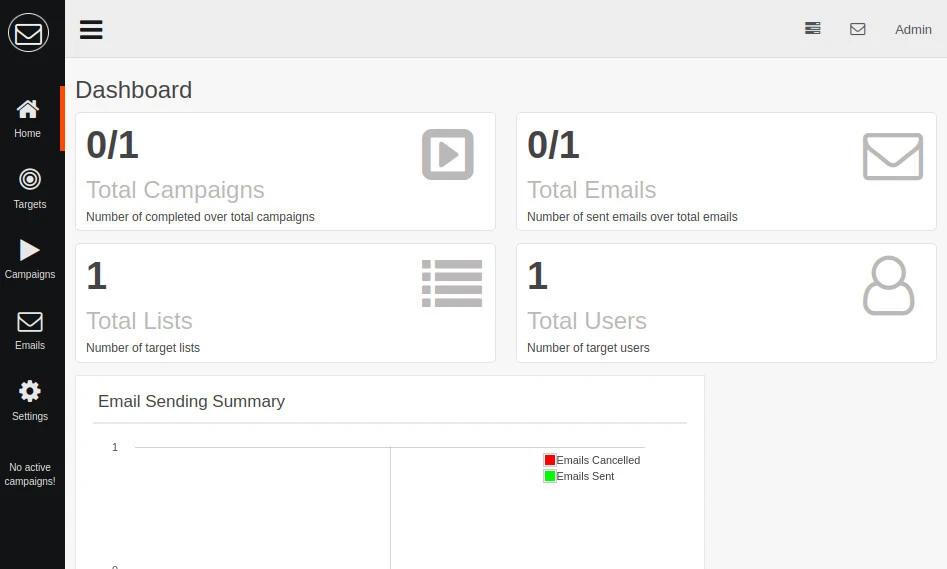
1. Dashboard
When we log into fiercephish, we land first at the dashboard page of the tool. This page has summarized information on various components found on the platform. From this page, we can get information regarding; the number of campaigns, number of emails, number of users, and the total number of users.
The bottommost item is an email sending summary.
2. Targets
On the targets page, we can add our target emails and other details related to a target profile. Fiercephish also allows for bulk importing of targets from CSV files. We can also be able to group the targets into different lists. This is important while running multiple campaigns.

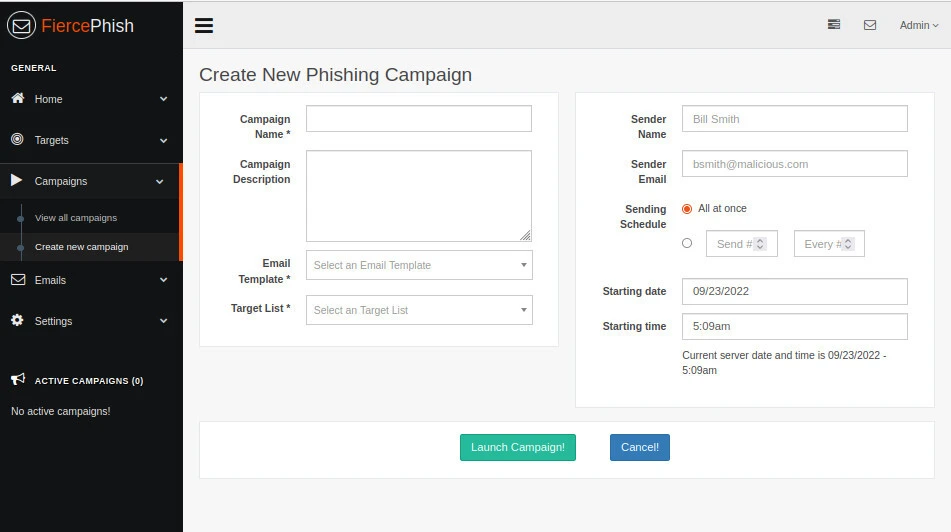
3. Campaigns
The campaign page has two main functions. On this page, you can view all the created campaigns and also create new campaigns. Fiercephish has advanced features required to run effective phishing campaigns. When creating a campaign, we can add the email template and specify the list of targets for the specific phishing campaign.
Moreover, we can specify the sender’s profile and even specify the sending schedule of the emails to avoid detection by the targets.
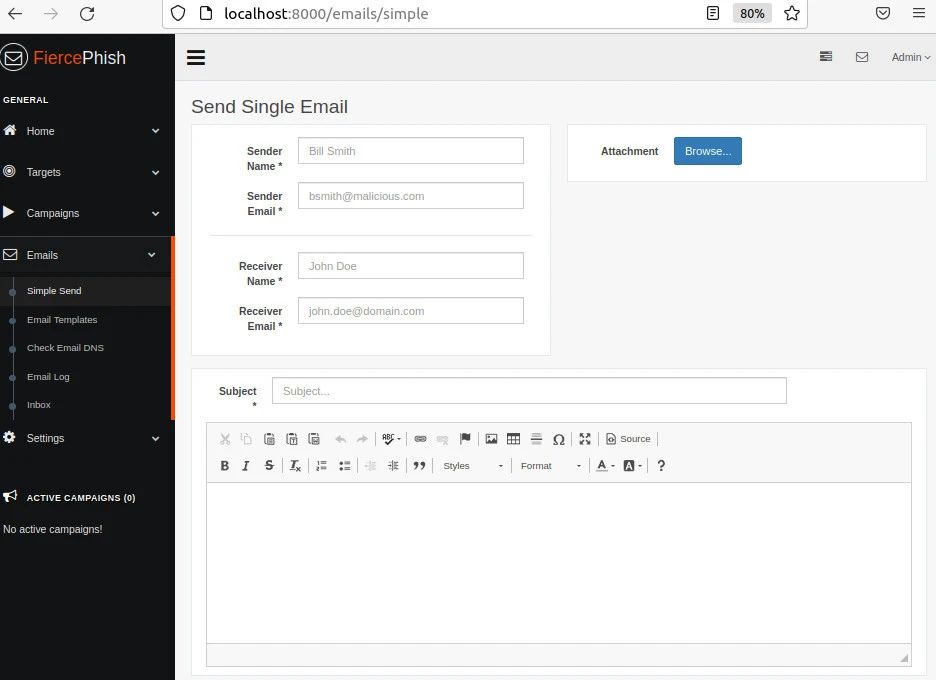
4. Emails
Under the email tab, there are different features. The first feature is the simple send option. Using this option you can be able to send an email to a single target without having to create a phishing campaign. While using simple send on the tool we can also add attachments to our email.
Another feature is the email templates, on this option, we can be able to create email templates to use in our campaigns on fiercephish. A built-in editor enables us to add HTML email templates and even edit them.

On the inbox button, we can be able to view emails received and respond to them. Other email features include; Checking email DNS and Email logs.
Access Fiercephish Settings
Under settings, various features are available. We can be able to modify some of the information we provided during installation. i.e. Database settings and other settings.
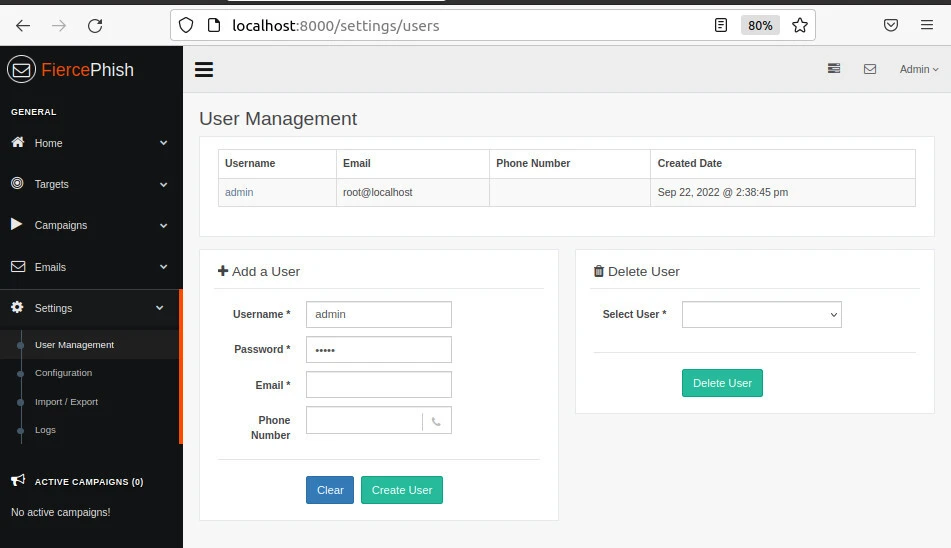
1. User management
On this tab, we are able to add and manage users who have access to our fiercephish instance.
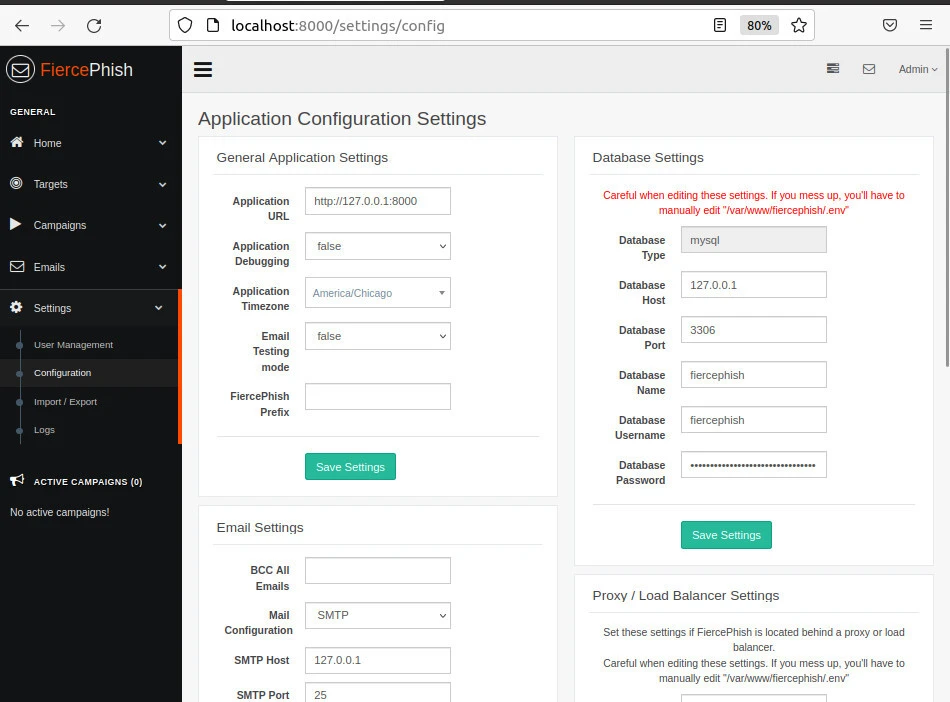
2. Configuration
On the configuration tab, we can be able to modify various configurations while working with fiercephish. Some of the configurations we can modify include; application, database, email, load balancer and IMAP settings.
3. Import/Export
You can export data and email logs of a fiercephish instance on this tab.********You can also import a previous FiercePhish instance although it will overwrite the current data and configurations hence it is suggested to only do this on a new FiercePhish install.
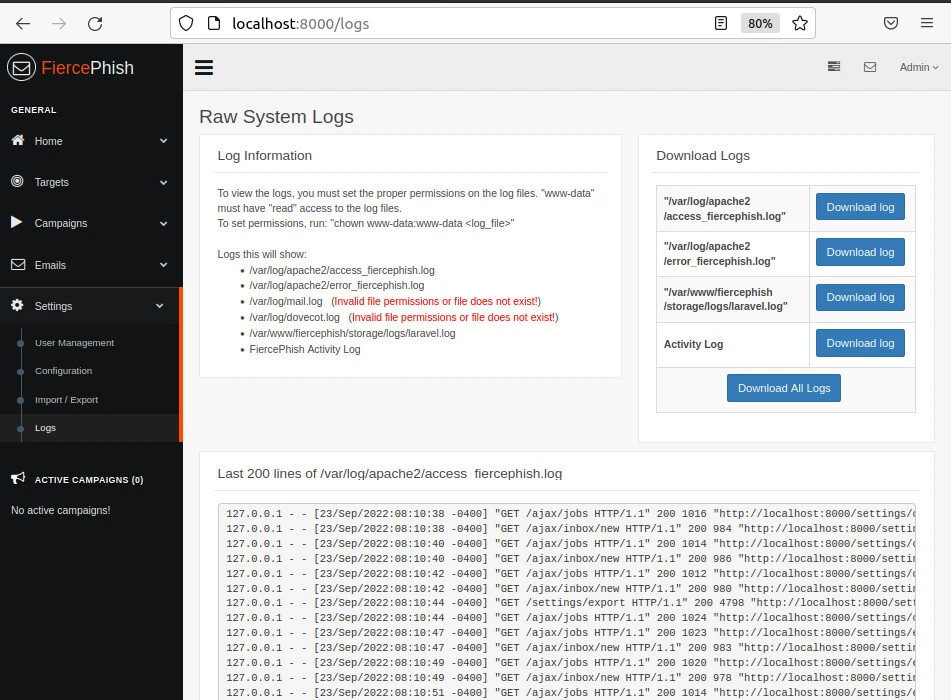
4. Logs
On the Logs tab a user can be able to view logs related to an instance of fiercephish. On this tab, the user can also be able to download different types of logs in a case where further analysis is required.
Conclusion
We were able to install and use the fiercephish platform on our pc using the instructions above. Additionally, we learned about the different features which make the tool preferable for the job. Since the tool is an open source tool, cyber security professionals can launch organizational cyber-security tests using it in a matter of minutes, saving both time and resources. Other examples of fully-fledged phishing tools include the Gophish phishing framework.