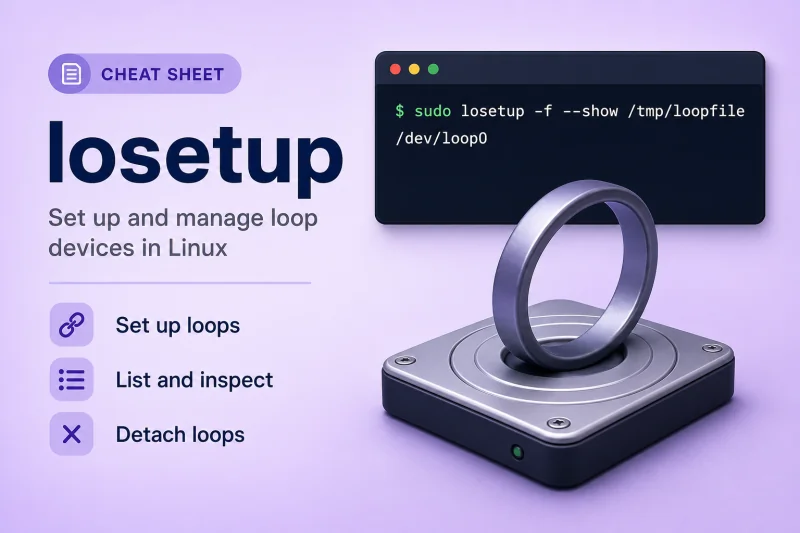
losetup — quick reference
Set up loop devices
Map a file to a /dev/loopN block device so partition tools and mkfs can treat it like a disk.
| When to use | Command |
|---|---|
| Find the first free loop device name | losetup -f |
| Attach a file to the first free loop device | sudo losetup -f /path/to/image.img |
| Attach and print the chosen device (script friendly) | sudo losetup -f --show /path/to/image.img |
| Attach to a specific loop device | sudo losetup /dev/loop7 /path/to/image.img |
| Attach read-only | sudo losetup -r -f --show /path/to/image.img |
| Limit visible size below the file length | sudo losetup -f --show --sizelimit 5242880 /path/to/image.img |
| Start at a byte offset inside the backing file | sudo losetup -o 1048576 -f --show /path/to/image.img |
Scan partition table and create /dev/loopNp1 nodes |
sudo losetup -Pf --show /path/to/image.img |
List and inspect
| When to use | Command |
|---|---|
| List all active loop devices (classic format) | losetup -a |
| List in columnar table format (default when listing) | losetup -l |
| List one device | losetup -l /dev/loop7 |
| JSON listing for scripts | losetup -J |
| Show which loop device backs a file | losetup -j /path/to/image.img |
| Pick specific columns | losetup -O NAME,BACK-FILE,OFFSET -l |
Detach and maintenance
| When to use | Command |
|---|---|
| Detach one loop device (umount first if mounted) | sudo losetup -d /dev/loop7 |
| Detach every loop device | sudo losetup -D |
| Grow a loop device after enlarging the backing file | sudo losetup -c /dev/loop7 |
| Verbose attach/detach messages | sudo losetup -v -f --show /path/to/image.img |
Help and version
| When to use | Command |
|---|---|
| Show options | losetup --help |
| Show util-linux version | losetup -V |
losetup — command syntax
Synopsis from losetup --help on Ubuntu 25.04 (util-linux 2.40.2):
losetup [options] [<loopdev>]
losetup [options] -f | <loopdev> <file>

Set up and control loop devices.
losetup configures kernel loop drivers; it does not mount filesystems. After attach, use mount on /dev/loopN or /dev/loopNp1. Setup and detach usually need sudo.
losetup — command examples
Essential Create an image and attach to the first free loop
Loop devices let you practice disk operations on a file under /tmp instead of a real disk.
dd if=/dev/zero of=/tmp/loopfile bs=10M count=1 status=none
sudo losetup -f --show /tmp/loopfile
Sample output:
/dev/loop27Verify the association:
losetup -j /tmp/loopfileSample output:
/dev/loop27: [0040]:1264 (/tmp/loopfile)Detach when finished:
sudo losetup -d /dev/loop27
rm -f /tmp/loopfile
Essential List active loop devices
Use -a for the legacy one-line format or -l for columns.
losetup -a
losetup -l
Sample -l row (device names vary):
/dev/loop27 0 0 0 0 /tmp/loopfile 0 512Columns include NAME, OFFSET, SIZELIMIT, RO, BACK-FILE, and logical sector size.
Essential Find the first unused loop device
-f alone prints a name; combine with --show during attach to capture it in scripts.
losetup -fSample output:
/dev/loop27Common Read-only loop for ISOs or forensic images
-r sets the RO flag so the kernel rejects writes through the loop device.
dd if=/dev/zero of=/tmp/ro.img bs=5M count=1 status=none
LOOP=$(sudo losetup -r -f --show /tmp/ro.img)
losetup -l $LOOP
sudo losetup -d $LOOP && rm -f /tmp/ro.img
Sample output:
NAME        SIZELIMIT OFFSET AUTOCLEAR RO BACK-FILE             DIO LOG-SEC
/dev/loop27         0      0         0  1 /tmp/ro.img           0     512
RO is 1 (read-only).
Common Size limit and byte offset
Expose only part of a large backing file — useful for nested images or skipping a header region.
dd if=/dev/zero of=/tmp/big.img bs=10M count=1 status=none
LOOP=$(sudo losetup -f --show --sizelimit 5242880 /tmp/big.img)
losetup -l $LOOP
sudo losetup -d $LOOP
LOOP=$(sudo losetup -o 1048576 -f --show /tmp/big.img)
losetup -l $LOOP
sudo losetup -d $LOOP && rm -f /tmp/big.img
Sample SIZELIMIT / OFFSET values:
/dev/loop27   5242880      0 ...
/dev/loop27         0 1048576 ...
Common JSON output for automation
-J prints structured data for Ansible, CI parsers, or custom scripts.
losetup -J | head -12Sample fragment:
"back-file": "/tmp/loopfile",
         "dio": false,
         "log-sec": 512
Common Partition scan with -P
After partitioning an image with parted, -P creates /dev/loopNp1 partition nodes.
dd if=/dev/zero of=/tmp/part.img bs=1M count=64 status=none
LOOP=$(sudo losetup -f --show /tmp/part.img)
sudo parted -s $LOOP mklabel gpt mkpart primary 1MiB 32MiB
sudo losetup -d $LOOP
LOOP=$(sudo losetup -Pf --show /tmp/part.img)
ls -la ${LOOP}*
sudo losetup -d $LOOP && rm -f /tmp/part.img
Sample output:
brw-rw---- 1 root disk  7, 27 ... /dev/loop27
brw------- 1 root root 259,  1 ... /dev/loop27p1
Advanced Detach failures — device busy
Detaching fails while a filesystem is still mounted on the loop or a partition child.
sudo losetup -d /dev/loop7Sample error:
losetup: /dev/loop7: detach failed: No such device or addressRun mount | grep loop7, umount the mount point, then retry losetup -d. For snap-held loops on Ubuntu desktops, identify the owner with losetup -l before forcing detach.
losetup — when to use / when not
| Use losetup when | Use something else when |
|---|---|
|
|
losetup vs mount -o loop
| losetup | mount -o loop | |
|---|---|---|
| Control | Explicit device choice, offset, size, read-only | Kernel picks a loop device during mount |
| Partition support | -P exposes /dev/loopNp* |
Often needs losetup -P first for partition mounts |
| Best for | Scripts, lab work, multi-step partition+format | Quick single-filesystem mount |
Related commands
| Command | One line |
|---|---|
| losetup | Attach and detach loop devices (this page) |
dd |
Create sparse or zero-filled image files |
Browse the full index in our Linux commands reference.
losetup — interview corner
What is a loop device?
A loop device is a kernel block driver that maps /dev/loopN to the blocks of a regular file (or another device). User tools such as mkfs, parted, and mount then talk to the file as if it were a disk.
A strong answer is:
"A loop device presents a file as a block device — I use losetup to attach images so I can partition or format them like real disks."
What does losetup -f --show do?
-f selects the first unused loop device. --show prints that name after a successful attach — handy in scripts: LOOP=$(sudo losetup -f --show image.img).
A strong answer is:
"-f picks a free loop; --show prints the device name after setup so scripts can capture it in a variable."
Why use -P / --partscan?
Without partition scanning, only /dev/loopN exists. -P asks the kernel to read the partition table inside the image and create /dev/loopNp1, p2, and so on — required before mounting an individual partition from a full-disk image.
A strong answer is:
"--partscan exposes partition devices like loop0p1 from a partitioned image — needed when the image contains a table, not just a bare filesystem."
Why does losetup -d fail with 'busy'?
Something still holds the device open — usually a mount, a dm-crypt mapping, or a process reading /dev/loopNp*. Unmount filesystems, close crypt mappings, then detach.
A strong answer is:
"The loop is still in use — I umount filesystems and close mappers before losetup -d."
When attach read-only with -r?
Use read-only loops for ISOs, golden images, or forensic copies where writes must not touch the backing file.
A strong answer is:
"-r sets the loop read-only — I use it for ISOs and audit images so nothing can modify the file underneath."
Troubleshooting
| Symptom | Likely cause | What to try |
|---|---|---|
failed to set up loop device: Device or resource busy |
File already attached | losetup -j FILE then detach the listed device |
detach failed |
Filesystem still mounted | umount /dev/loopNp* then losetup -d |
No loopNp1 after attach |
Partition scan not run | Detach and reattach with -Pf |
Wrong size seen by mkfs |
--sizelimit or --offset set |
losetup -l and adjust flags |